


Completing a few affordable home weatherization projects this fall can significantly lower your heating bills and keep your living spaces comfortable all winter long
Key Takeaways
- Sealing air leaks around doors, windows, and exterior outlets is one of the most cost-effective ways to reduce energy waste and improve indoor comfort.
- Tackling a DIY home weatherization checklist before freezing temperatures arrive saves both time and money on installation materials while preventing winter damage.
- Homeowners can access federal tax credits and local utility rebates to help offset the costs of larger insulation, air sealing, or HVAC efficiency upgrades.
As summer heat fades and crisp autumn breezes settle in, you might already feel the chill creeping into your living spaces. Preparing your home for the upcoming temperature drop doesn’t have to be complicated or expensive. We want to help you stay cozy without watching your winter energy costs skyrocket. By tackling some practical, budget-friendly fall weatherization tips over a weekend, you can block cold drafts, ease the daily strain on your heating system, and keep your monthly utility bills in check.
Why Fall Is the Best Time for DIY Home Weatherization
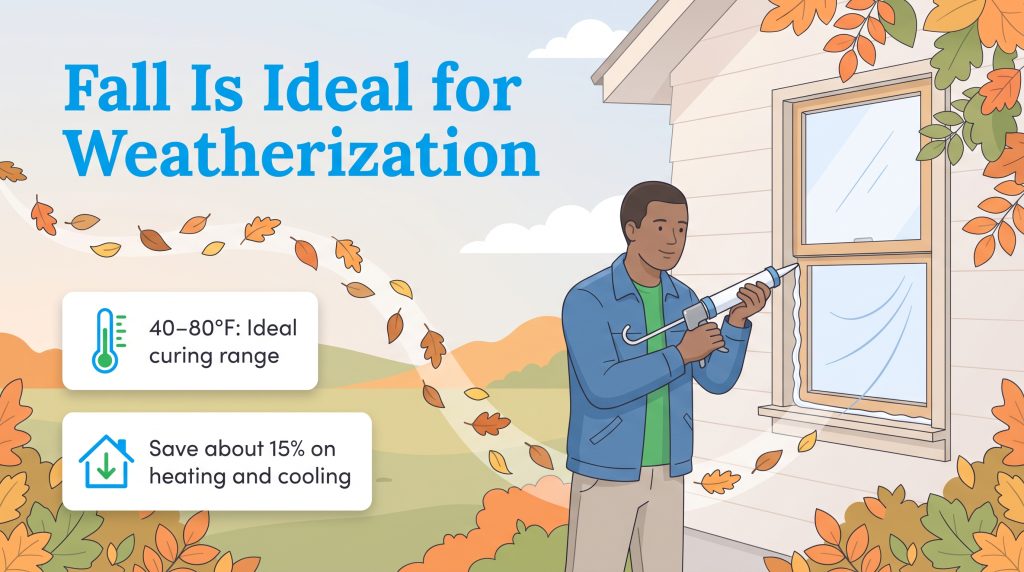
When the scorching heat vanishes but the heavy snow hasn’t arrived, you find yourself in the sweet spot for home maintenance. The mild autumn climate offers the ideal window for DIY home weatherization. Working outside is actually pleasant, and the moderate temperatures ensure your materials perform at their best. Most exterior caulks and sealants require temperatures between 40 and 80 degrees Fahrenheit to cure properly. If you wait until December, those products simply won’t set, leaving your home vulnerable to freezing gusts. Acting proactively means your house is tightly sealed before the furnace has to kick into high gear.
According to ENERGY STAR, homeowners can save an average of 15% on heating and cooling costs, or an average of 11% on total energy costs, by air sealing their homes and adding insulation in attics, floors over crawl spaces, and accessible basement rim joists. Doing this work yourself eliminates labor costs, delivering a fast return on investment. Actual savings vary by climate, fuel type, home size, utility rates, and the condition of your home’s existing insulation and air sealing. Below is a quick look at how affordable these materials are compared to the efficiency impact you can expect to see.
| DIY Weatherization Task | Typical Material Cost | Best For | Why It Helps | Estimated Time to Complete |
|---|---|---|---|---|
| Caulking exterior windows | $15 to $30 | Drafty window frames and trim | Seals tiny gaps that allow warm indoor air to escape outside. | 1 to 2 hours |
| Weatherstripping exterior doors | $10 to $20 | Doors that fail the paper test | Blocks freezing wind from creeping through the edges of the doorframe. | 30 to 60 minutes per door |
| Insulating hot water pipes | $15 to $25 | Basements, crawl spaces, and garages | Helps hot water stay warmer as it travels to fixtures and may let you lower your water heater setting. | 1 hour |
| Installing outlet foam gaskets | $5 to $10 | Outlets and switches on exterior walls | Stops cold air inside wall cavities from leaking into your rooms through faceplate gaps. | 15 to 30 minutes |
| Applying window shrink film | $15 to $35 | Older, single-pane, or drafty windows | Creates a temporary insulating air pocket over the glass to reduce heat transfer and drafts. | 15 minutes per window |
| Installing a door sweep | $10 to $25 | Exterior doors with visible bottom gaps | Seals the wide space between the bottom of the door and the threshold to block ground-level drafts and pests. | 20 to 30 minutes |
| Adding exterior spigot covers | $5 to $15 | Outdoor hose bibs and faucets | Traps residual home heat around the fixture to prevent freezing and costly burst pipes. | 5 minutes per spigot |
Quick Fact
Drafts force your heating system to work much harder to maintain a set temperature, which not only spikes your energy bill but accelerates costly wear and tear on your HVAC equipment over time.
How to Seal Air Leaks in Your Home’s Thermal Envelope
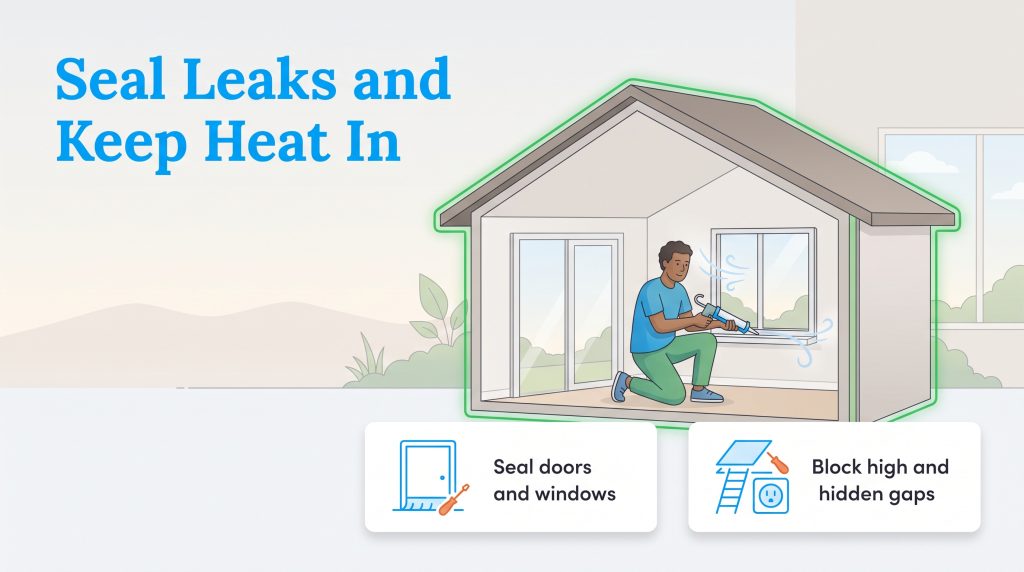
Even in well-built houses, gaps in your exterior boundaries are the top culprits for unwelcome drafts and heat loss. Learning how to seal air leaks in home walls, windows, and ceilings is the smartest way to spend a Saturday afternoon. Unsealed openings invite freezing air inside, forcing your thermostat to constantly recalibrate and run your heater. By gathering a few inexpensive hardware store tools, you can tighten up your home’s thermal envelope before the first frost hits.
Weatherstripping Doors and Installing Door Sweeps
The easiest way to spot a leaking door is the simple paper test. Close an exterior door on a piece of paper; if you can pull the paper out without any resistance, your seal is failing. Alternatively, have someone shine a flashlight around the doorframe at night while you stand on the other side. If you see light creeping through the edges, you have a draft problem. Weatherstripping doors for fall requires minimal expertise and just a few basic supplies. Start by peeling away any brittle, cracked, or worn-out seals along the frame, then choose the right replacement material for each specific gap:
- Adhesive foam tape: Made from compressible rubber or EPDM foam with a peel-and-stick backing, this is an inexpensive, quick fix best applied to the top and bottom tracks of window sashes or inside door stops where friction is low.
- V-strip (tension seal): This durable plastic or metal strip folds into a “V” shape that springs open to bridge gaps. It stands up well to heavy friction, making it the best choice for the vertical sides of a doorframe or along the sliding tracks of double-hung windows.
- Bottom rubber door sweeps: While foam tape and V-strips seal the top and sides, a flat piece of aluminum or vinyl with a thick rubber flap screws or slides directly onto the bottom interior edge of your door. It closes the wide gap between the door slab and the threshold without dragging across your flooring.
Caulking Window Frames and Applying Shrink Film
While doors rely heavily on weatherstripping, stationary window frames demand a different approach. If you want to know how to weatherize windows for winter, start by thoroughly inspecting the exterior and interior perimeter of every window. Over time, old caulk shrinks, cracks, and pulls away from the siding or trim. You will need a reliable caulk gun, a putty knife to scrape away the old material, and high-quality exterior-grade silicone caulk for outside frames. For the inside, a paintable acrylic latex caulk works best. Carefully apply a continuous bead along any visible gaps where the window frame meets the wall to stop warm air from escaping out of your living room.
After sealing the frame perimeter, you can stop radiant heat loss right through the glass by applying a heat-shrink plastic window insulation kit. Start by cleaning the interior window trim with rubbing alcohol so the included double-sided tape sticks firmly around the entire frame. Press the clear plastic film onto the tape, leaving a little slack, and then run a standard household hairdryer over the surface on its high heat setting. The hot air shrinks the film tight, smoothing out wrinkles and creating an invisible, dead-air buffer zone that acts like an extra pane of glass. If your home has older, single-pane windows, we also recommend hanging heavy thermal curtains to add another thick barrier against nighttime chills.
Pro Tip
To achieve a flawless, professional-looking finish when applying caulk, lightly wet your finger or use a specialized caulking tool to smooth out the bead immediately after applying it.
Insulating Exterior-Facing Wall Outlets and Switches
Even well-insulated exterior walls have weak spots wherever holes are cut into the drywall to mount electrical boxes. Because fiberglass batt or blown-in insulation rarely fits tightly behind and around these junction boxes, cold air circulating inside the wall cavity can push right into your rooms through the tiny gaps around your outlets and light switches. Insulating exterior wall outlets takes less than half an hour and costs just a few dollars for a multi-pack of seals. Follow these four steps to block hidden electrical drafts safely:
- Turn off the power at the breaker box: Before touching any electrical component with a metal screwdriver, flip the corresponding circuit breaker to the “off” position and plug in a lamp or outlet tester to verify the power is completely disconnected.
- Unscrew and remove the faceplate: Use a flathead screwdriver to remove the mounting screws holding the plastic cover plate over your outlet or toggle switch, then set the plate and screws aside.
- Insert a pre-cut foam outlet gasket: Punch out the perforated center slots on a fire-retardant foam sealer gasket so it matches your receptacle or switch configuration, press the foam flat against the wall over the electrical box, and screw the faceplate snugly back into place.
- Install child-safe plastic outlet plugs: After turning your breaker back on, press tight-fitting plastic safety caps directly into any unused electrical sockets to stop cold air from whistling straight through the prong slots themselves.
Closing Fireplace Dampers and Sealing Attic Hatches
Because warm air naturally rises, any unsealed opening near the top of your rooms or inside your chimney creates a strong upward draft known as the stack effect. Leaving a fireplace flue damper open when there is no fire burning is like leaving a wide window open all winter, allowing expensive heated air to rush straight out of the chimney. Always verify that your metal damper lever is locked in the closed position once the ashes are cold. If you have a purely decorative or unused wood-burning fireplace, insert an inflatable chimney balloon into the flue above the firebox to form an airtight plug that stops cold downdrafts and blocks debris.
Your pull-down attic access stair or scuttle hole is another major escape route for rising indoor heat. Most builders leave this thin plywood hatch completely uninsulated and unsealed, creating a large gap in your ceiling’s thermal boundary. Pick up a roll of adhesive foam weatherstripping and stick it along the perimeter ledge of the frame so the hatch door compresses tightly against the seal when closed. Next, cut a piece of rigid foam board insulation to match the dimensions of the hatch door and glue it to the top side facing the attic, or install a zippered, insulated attic tent cover over the entire stair assembly.
Cheap Ways to Weatherize Your Home Before the Freeze
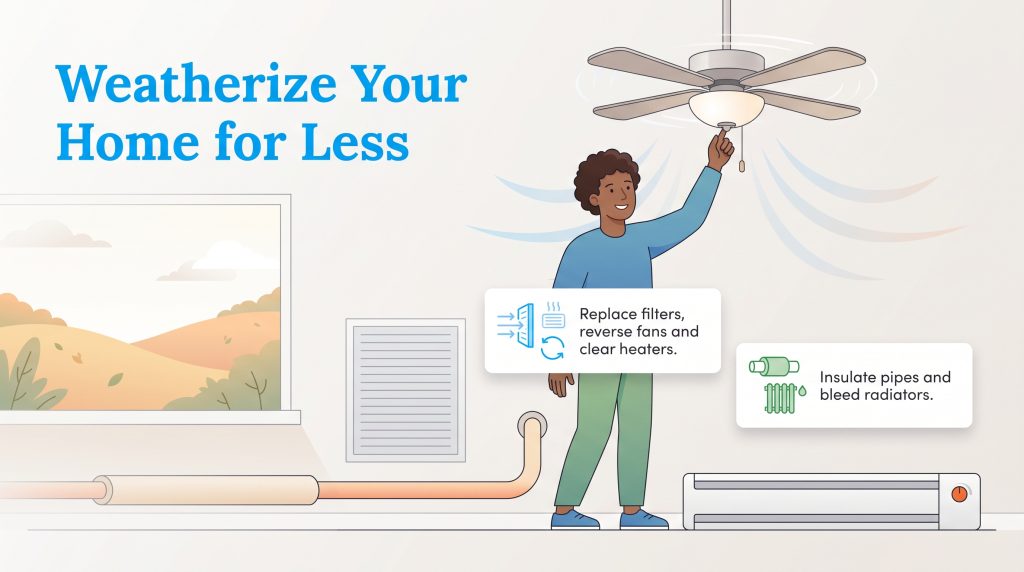
You don’t need a massive renovation budget to create an efficient living space. If you want maximum impact for minimal spend, there are plenty of cheap ways to weatherize your home that take just minutes to complete. These quick adjustments focus on optimizing the distribution systems you already use every day. As the temperature drops, practicing a few smart fall energy saving tips will reduce your heating load and keep your rooms comfortable. Implementing these small tweaks is a great way to reduce your overall electricity consumption throughout the colder months.
- Swap out furnace filters every 1 to 3 months: A dust-clogged filter restricts airflow, forcing your blower motor to work overtime and driving up energy use. Check your filter monthly during heavy winter use and replace it at least every one to three months to improve heating efficiency and indoor air quality.
- Reverse your ceiling fans: Most ceiling fans have a small directional switch on the side of the motor housing. Flipping it to run clockwise on a low speed creates a gentle updraft that pushes warm air trapped near the ceiling back down along the walls and into your living space without creating a chilly breeze.
- Insulate exposed hot water pipes: Head down to your basement, utility room, or crawl space and snap pre-slit foam insulation sleeves over exposed hot water pipes. This simple step reduces heat loss by two to four degrees Fahrenheit as water travels to your faucets and helps prevent frozen pipes during cold snaps.
- Bleed hot water radiators or clear baseboard heaters: If your home uses hydronic heating, use a radiator key to open the bleed valve at the top of each unit until water drips steadily, releasing trapped air pockets that stop radiators from heating evenly. For electric or hot water baseboard heaters, vacuum away thick dust bunnies from the metal fins and move couches or drapes at least a foot away so warm air can circulate freely.
Fall Heating, Water Heater, and Safety Prep
Tightening up your home’s outer shell works best when paired with mechanical systems that run cleanly and safely. Your furnace and water heater account for the vast majority of your winter utility expenses, so giving them a little attention in autumn prevents mid-January breakdowns and high energy waste. Before sealing up your house for the season, run through a quick fall HVAC tune-up checklist to make sure your equipment and safety monitors are ready for the workload ahead.
Scheduling an HVAC Tune-Up and Testing Your Heat Early
Don’t wait for the first freezing night of the year to find out your furnace igniter has failed — a mistake that leaves you stuck on a long waitlist for emergency repair technicians. On a cool morning in early fall, switch your thermostat to heat mode and set it a few degrees above the current room temperature. Listen closely as the system powers on to make sure the blower runs smoothly without metallic rattling, squealing belts, or short cycling (turning on and off repeatedly without reaching the target temperature).
When your heater fires up for the first time in months, catching a brief, dusty burning smell from the vents is completely normal as settled dirt burns off the heat exchanger. That odor should fade away within 20 to 30 minutes of opening a window. However, if you notice a lingering smell of melting plastic, electrical burning, or rotten eggs (the chemical odorant added to natural gas), shut the system off immediately and call a technician or your gas utility. Even if everything sounds normal during your test run, booking an annual fall inspection with an HVAC pro ensures your burners are clean, your heat exchanger has no dangerous cracks, and your system operates at peak efficiency.
Optimizing Smart Thermostats and Water Heater Settings
Dialing in your temperature controls is one of the easiest ways to trim winter bills without sacrificing comfort. According to the U.S. Department of Energy, you can save up to 10% a year on heating and cooling by turning your thermostat back seven to 10 degrees Fahrenheit for eight hours a day from its normal setting. Aim to set your thermostat to 68 degrees Fahrenheit while you are awake at home, and program your smart or programmable thermostat to drop into the low 60s while your household is asleep under warm blankets or away at work. Smart thermostats make this effortless by learning your daily routine or using phone geofencing to lower the heat automatically when the house is empty.
Next, walk over to your water heater tank and check the temperature dial. Many manufacturers ship water heaters with a default setting of 140 degrees Fahrenheit, which wastes energy keeping gallons of water scalding hot around the clock and poses a burn hazard for children. Use a screwdriver to turn the thermostat dial down to 120 degrees Fahrenheit. This sweet spot provides plenty of hot water for showers and dishwashers while cutting standby heat loss and saving you up to $400 annually on water heating costs.
Testing Smoke and Carbon Monoxide Detectors
As you weatherstrip doors, caulk windows, and lock down your home to trap heat, fresh air exchange drops significantly. At the same time, you are firing up combustion appliances like natural gas furnaces, boilers, water heaters, and wood-burning fireplaces. This combination makes autumn the most critical time of year to check your life-safety equipment. Carbon monoxide (CO) is an invisible, odorless gas produced whenever fuels burn incompletely, and a blocked chimney flue or cracked furnace heat exchanger can quickly cause toxic levels to build up inside a tightly sealed home.
Walk through every level of your home — especially hallways outside bedrooms and utility areas — and press the “test” button on every smoke alarm and carbon monoxide detector. Replace the backup batteries in all standard units right away, even if they aren’t chirping yet. While changing the batteries, flip each detector over to check the manufacture date stamped on the back plastic housing; smoke detectors lose sensor sensitivity and must be replaced every 10 years, while carbon monoxide alarms typically expire every five to seven years.
See our list of Best Carbon Monoxide Detectors
Heads Up
Never use a gas kitchen range, oven, or portable camping heater to warm up your living space during a winter power outage, as these unvented appliances rapidly fill sealed rooms with lethal carbon monoxide.
Complete Outdoor Winterizing a House Checklist
Securing the interior of your property is only half the battle. To protect your home from expensive structural headaches, you must look beyond your main living spaces and prepare your exterior envelope, roof, and plumbing connections. Following a step-by-step winterizing a house checklist ensures you don’t overlook outdoor vulnerabilities that can lead to ice dams or burst pipes once temperatures plummet.
Draining Hose Bibs and Insulating Outdoor Spigots
Water expands as it freezes, putting immense pressure on metal and PEX plumbing lines that sit near unheated exterior walls. Taking 15 minutes to winterize your outdoor water fixtures prevents a ruptured pipe from flooding your basement or crawl space. For a deeper dive into protecting your home’s plumbing systems, explore our water utilities guide, and follow these quick steps before the first hard freeze:
- Disconnect and drain all garden hoses: Unscrew every garden hose from your exterior faucets, stretch them out across the yard to let trapped water drain completely, and store them coiled indoors so the rubber doesn’t crack in the cold. Leaving a hose attached traps water inside the spigot barrel, which will freeze and split the pipe inside your wall even if you have frost-free sillcocks.
- Shut off interior water supply valves: Locate the dedicated indoor shut-off valve for your outdoor plumbing lines (usually found in the basement, utility closet, or crawl space) and turn it clockwise to cut off the water supply.
- Bleed the exterior lines and install foam covers: Go back outside and open the outdoor spigot handles to let any remaining water drain out, leave the bleeder cap open if your indoor valve has one, and loop an insulated foam faucet cover snugly over each exterior hose bib to block freezing wind.
Clearing Gutters, Downspouts, and Inspecting the Roof
Once the last autumn leaves have fallen, grab a sturdy ladder and work gloves to prepare your roof drainage system for winter snow and sleet. When melting snow can’t drain freely through your gutters, the trapped water refreezes along the cold roof edge, creating heavy ridges of ice called ice dams that force melting water backward underneath your shingles. Check off these roof and gutter tasks on a dry fall afternoon:
- Scoop out leaves and flush the gutters: Clear all wet leaves, pine needles, and shingle grit from your gutter troughs by hand, then run a hose from the roof down toward the outlet to confirm water flows without pooling.
- Extend downspouts 4 to 6 feet from the foundation: Verify that your vertical downspouts are free of clogs and attach plastic or aluminum downspout extensions at the bottom so melting snow and winter rain discharge at least four to six feet away from your home’s foundation walls.
- Inspect roof shingles and flashing from the ground: Use a pair of binoculars to scan your roof for cracked, curling, or missing shingles, and check that the metal flashing around your chimney, plumbing vents, and valleys is tight and sealed before heavy snow piles up.
Checking Attic and Crawl Space Insulation Levels
Your attic and crawl space act as the primary buffers between your heated rooms and the freezing outdoors. Insufficient insulation in the attic not only drives up your heating bill, but also warms the underside of your roof deck, melting snow unevenly and triggering destructive ice dams. Grab a flashlight and a tape measure to evaluate your insulation barriers:
- Measure your attic insulation depth: Poke your head into the attic and look across the floor span. If your existing fiberglass or cellulose insulation sits level with or below the tops of the wooden floor joists, you need to add more; most U.S. climate zones require 10 to 14 inches of insulation (R-value between R-38 and R-60) to trap heat effectively.
- Keep soffit vents clear for attic airflow: As you roll out new unfaced fiberglass batts or blow in loose-fill cellulose, make sure cardboard or foam rafter baffles are installed along the eaves so insulation doesn’t block the exterior soffit vents that keep your roof deck cold and dry.
- Inspect crawl space batts and rim joists: Check underneath your ground floor to ensure fiberglass batts between the floor joists haven’t sagged or fallen down, and cut pieces of rigid foam board to fit inside the wooden rim joists around the perimeter of your basement or crawl space, sealing the edges with canned spray foam.
Eco Edge
Properly insulating your attic and walls doesn’t just save you money; it also significantly reduces your household’s carbon footprint by cutting down your reliance on fossil fuels for winter heating.
Finding Utility Rebates and Federal Energy Incentives
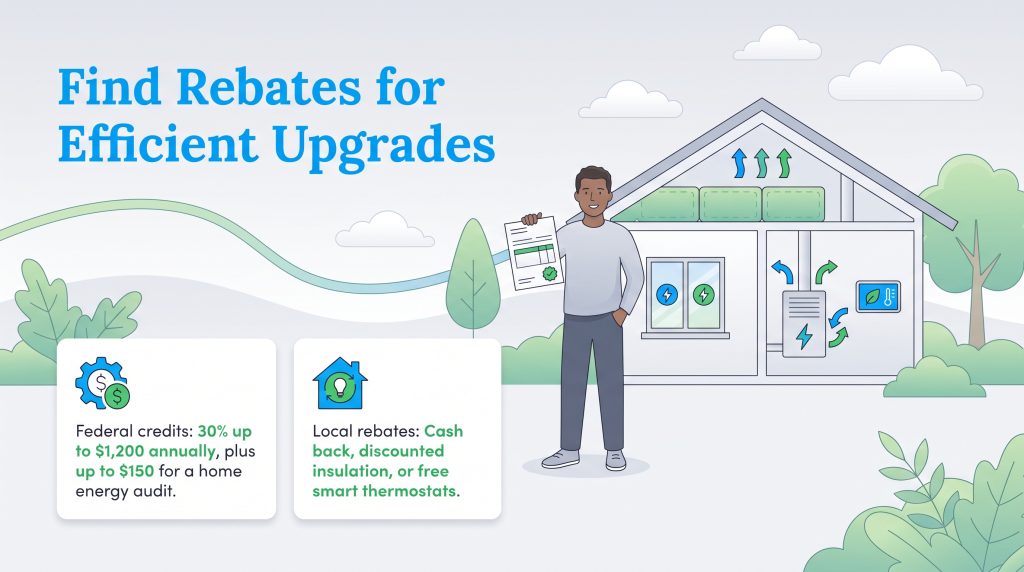
While many seasonal tasks involve simple, cheap DIYs, achieving maximum efficiency sometimes requires a larger financial investment. Upgrading an aging furnace, adding blown-in attic insulation, or booking a diagnostic home energy audit can add up quickly. Fortunately, you don’t have to shoulder the entire cost alone. Homeowners can tap into substantial federal weatherization tax credits and local rebates designed to make energy-efficient home improvements much more affordable.
Under the federal tax credits for energy-efficient home improvements — officially known as the Energy Efficient Home Improvement Credit (Section 25C) — homeowners can claim up to 30% of the material costs (up to $1,200 annually) for qualifying insulation, air sealing materials like weatherstripping and caulk, and exterior doors or windows. Through this same federal credit, you can also claim 30% of the cost (up to $150) for a professional home energy audit to help pinpoint your home’s biggest heat loss trouble spots. Additionally, we recommend searching for local utility rebates through your state energy office or municipal provider. Many electric and natural gas companies offer cash-back rebates, discounted insulation installation, or free smart thermostats just for upgrading your equipment before peak winter demand hits.
Preparing Your Home for a Cozy, Low-Cost Winter
Taking a proactive approach during the mild autumn months is the best way to guarantee a warm, budget-friendly winter. By combining quick DIY air-sealing projects with routine HVAC maintenance and outdoor plumbing prep, you create a tight, efficient home that retains heat without overworking your furnace. Don’t wait until the first blizzard forces you to scramble for caulk and pipe wrap in the freezing cold. Once you finish checking off your fall weatherization tasks, take the next step toward lower winter bills by exploring our utility comparison tools at UtilitiesForMyHome.com to find the most competitive electricity and natural gas rates in your neighborhood.
Frequently Asked Questions About Fall Weatherization Tips
We gathered answers to some of the most common questions homeowners and renters have about securing their properties for the upcoming winter season.
What is the most cost-effective fall weatherization tip?
How much money does weatherizing your home save?
How can I weatherize my apartment or rental for fall without losing my security deposit?
What temperature should I set my thermostat to in the fall and winter?
How do I know if my windows need weatherizing for winter?
Are there any government programs that help pay for home weatherization?
When is the best time to start winterizing a house?
Can I do a home energy audit myself?
About the Author

David has been an integral part of some of the biggest utility sites on the internet, including InMyArea.com, HighSpeedInternet.com, BroadbandNow.com, and U.S. News. He brings over 15 years of experience writing about, compiling and analyzing utility data.

Jared Evans is a licensed electrician and the owner of Full Circuit Electric in Omaha, Nebraska. As an expert reviewer for UtilitiesForMyHome.com, Jared uses his 10+ years of hands-on experience to ensure our electrical advice is safe, accurate, and easy to follow. Whether he's troubleshooting a complex wiring issue or sharing tips on green energy upgrades, Jared is dedicated to helping you power your home efficiently — and safely.

LaLeesha has a Masters degree in English and enjoys writing whenever she has the chance. She is passionate about gardening, reducing her carbon footprint, and protecting the environment. She also recently served as President of the Board for City Sprouts (a community garden).