

Protect Your Budget And The Environment With Straightforward Summer Home Weatherization Tips That Boost Comfort And Savings
Key Takeaways
- Air sealing and weatherstripping are some of the most cost-effective ways to block summer heat and lock in cool air.
- Upgrading to smart home technology, like Wi-Fi thermostats, can optimize your home’s cooling schedule automatically.
- Maintaining your HVAC system and updating window coverings can significantly lower your monthly energy bills.
As temperatures climb, cranking up the air conditioner feels great until your sky-high electric bill arrives in the mail. You do not have to accept expensive utilities as a seasonal tradition, especially since the U.S. Department of Energy estimates that up to 30% of a home’s cooling energy is lost through drafty windows and poorly sealed doors. By implementing practical summer home weatherization tips, you can directly lower summer cooling costs while keeping your living space consistently comfortable. Whether you own a house or rent an apartment, this guide walks you through actionable steps to block the brutal heat, trap chilled air inside, and embrace a more eco-conscious lifestyle this season without breaking your budget.
Why Weatherizing Your Home For Summer Is Essential
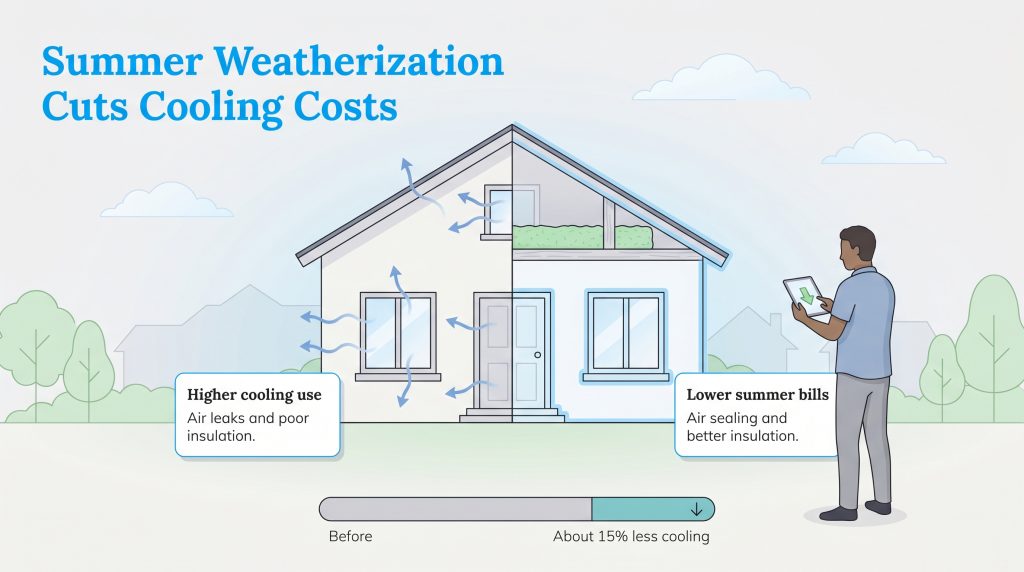
Prepping your property for hot weather matters just as much as sealing up drafts to survive a freezing winter. By addressing hidden air leaks and focusing on robust insulation and air sealing, you stop expensive, air-conditioned air from escaping and block radiant heat from baking your living room. This translates directly to less strain on your cooling system and a much longer lifespan for your HVAC equipment. According to ENERGY STAR, proper air sealing and insulation can save an average of 15% on heating and cooling costs, depending on the home and climate. To put this into perspective, we put together a breakdown of popular projects that act as excellent ways to save on your electric bill.
Top Summer Weatherization Tips (Low-Cost & DIY)
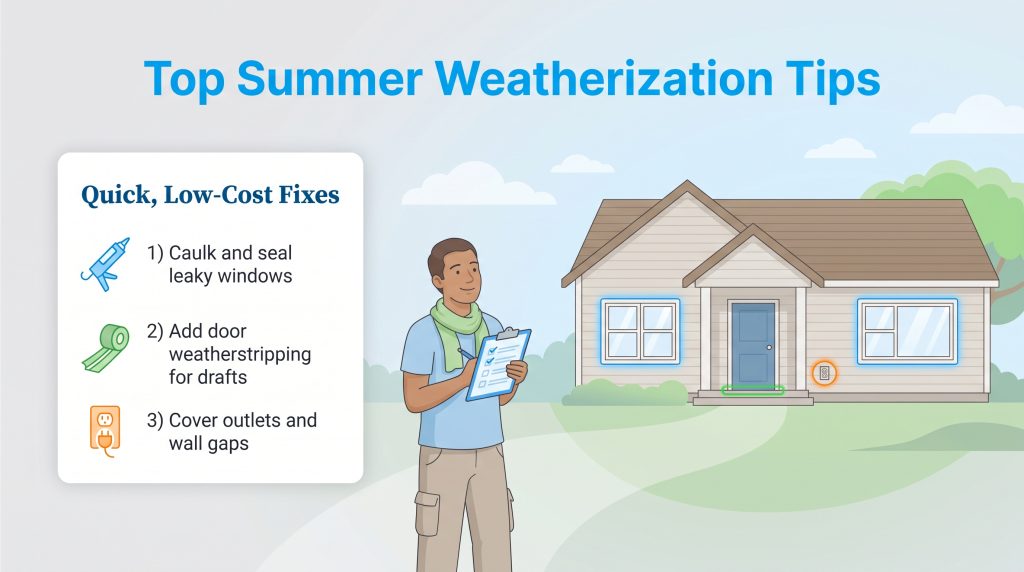
Learning how to weatherize home for summer environments does not require a huge budget or a general contractor. Tackling straightforward, DIY-friendly projects helps you build a more energy-efficient and comfortable living space in just a single weekend. Simply walking through your property to identify weak spots ensures you tackle the most critical drafts first.
Renter-Friendly Summer Weatherization Fixes
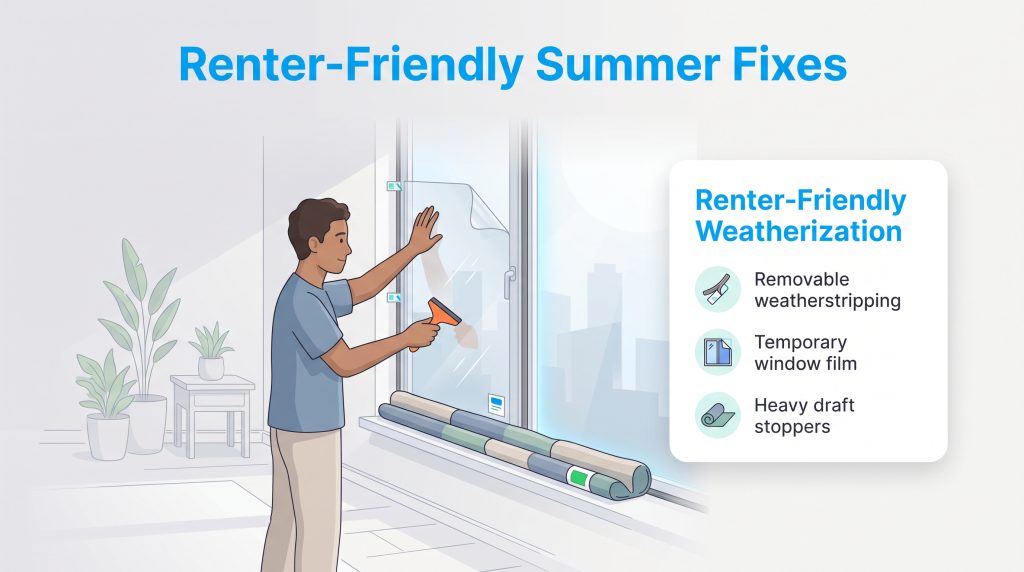
Even if you rent an apartment, these low-cost summer weatherizing tips include highly reversible modifications. You can use removable weatherstripping, temporary window film, and heavy draft stoppers to block the heat without violating your lease agreement.
Focus On Draft Sealing With Caulk And Weatherstripping
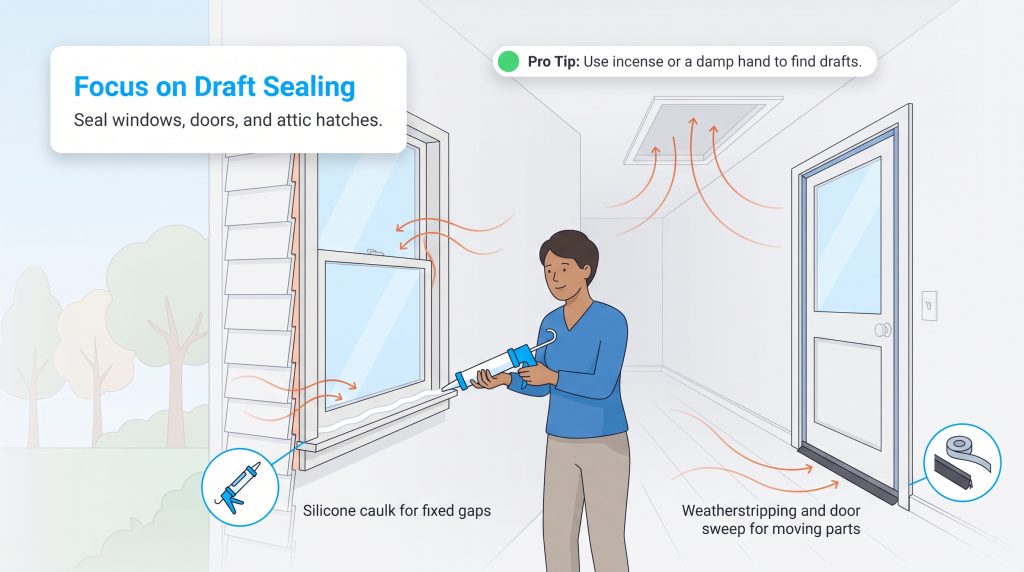
Exterior doors and older windows endure heavy physical wear and tear, causing their factory seals to degrade rapidly. To stop hot air intrusion, you must pinpoint exactly where your conditioned air is escaping. Focus your draft sealing efforts on specific weak points: apply a continuous bead of silicone caulk to stationary gaps along window frames, baseboards, and any visible cracks in your home’s exterior siding. Do not forget to inspect your attic hatches, which frequently leak superheated air down into your hallways.
For moving parts like exterior doors, apply foam tape or V-strip weatherstripping along the top and sides of the door jamb. Replace any cracked door sweeps at the bottom of the frame to keep out hot drafts and summer insects.
💡 Pro Tip: You can easily check for sneaky window drafts on a windy day by slowly moving a lit incense stick or a damp hand around the window frame to feel for unwanted air movement.
Install Energy-Efficient Window Treatments
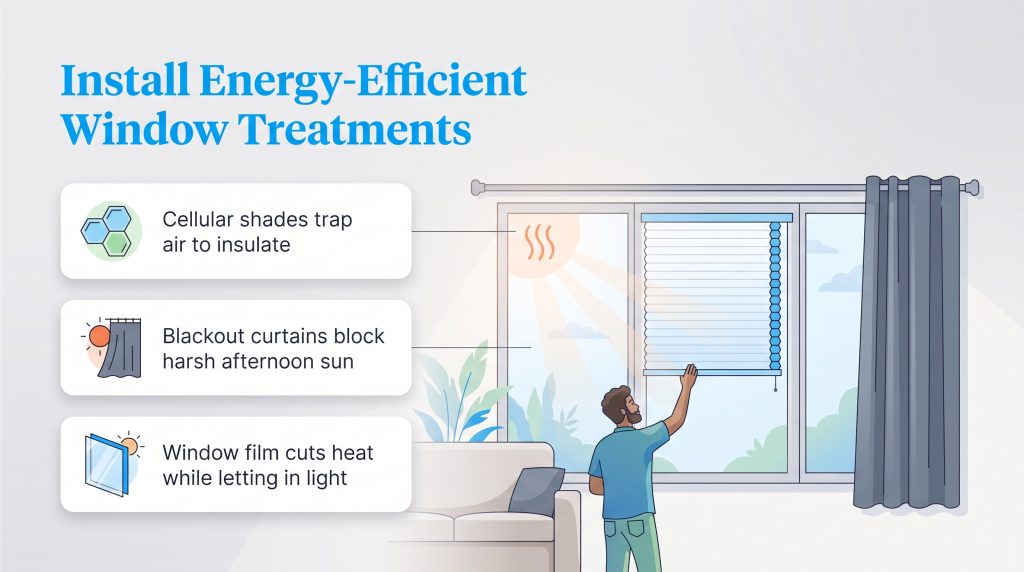
Sunlight streaming through bare glass creates a greenhouse effect, bringing unwanted thermal energy directly into your living room. Upgrading to energy-efficient window treatments acts as an essential first line of defense against solar heat gain. We highly recommend installing cellular shades or honeycomb blinds. Their unique, pleated cellular structure actually traps air within the window frame, creating a dense insulating barrier that prevents indoor temperature fluctuations.
If you prefer a simpler fix, hang heavy blackout curtains on a sturdy rod and pull them shut on your south- and west-facing windows during peak afternoon sun. Additionally, applying heat-reducing window film directly to the glass effectively blocks harmful UV rays while still allowing natural light to brighten your space.
Utilize Ceiling Fans And Natural Ventilation
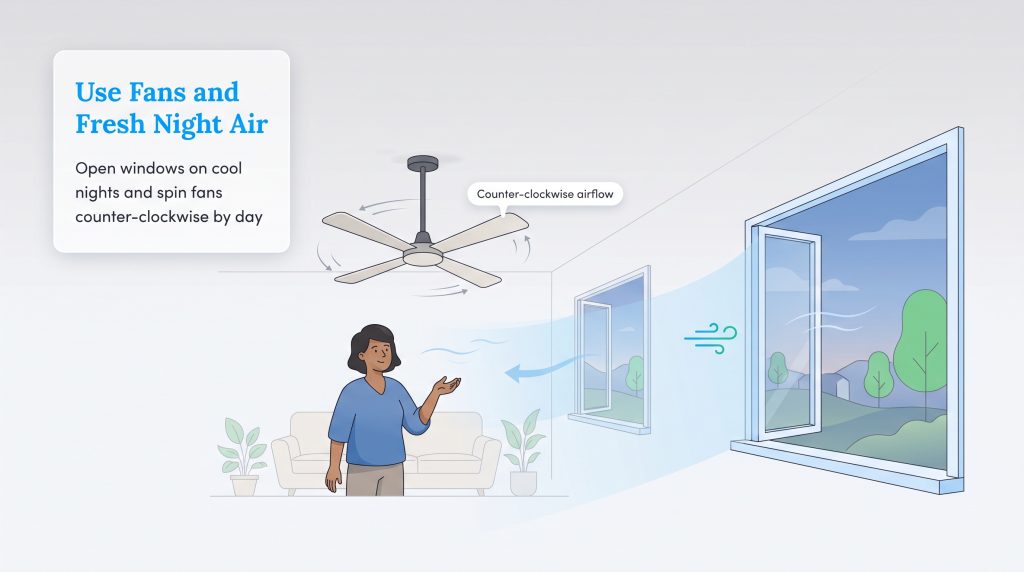
Knowing how to keep house cool in summer without exclusively relying on mechanical air conditioning instantly reduces your utility bills. Utilizing natural ventilation and strategic airflow can make your rooms feel significantly colder. Try employing night-flush ventilation: when outdoor temperatures drop in the late evening, open windows on opposite sides of your house to create a brisk cross-breeze. This technique flushes out stale, hot indoor air and pulls in refreshing night air.
During the daytime, adjust the directional switch on your ceiling fans so the blades spin counter-clockwise. This motion pushes the air straight down, creating a wind-chill effect on your skin. Always turn the fan off when you leave the room, as fans cool people, not empty spaces.
High-Impact Upgrades To Lower Summer Cooling Costs
Once you handle the low-hanging fruit, it is time to evaluate larger, long-term investments. These high-impact upgrades require slightly more effort or upfront capital, but they provide substantial energy savings that shorten your payback period over the years.
Schedule A Professional Home Energy Audit
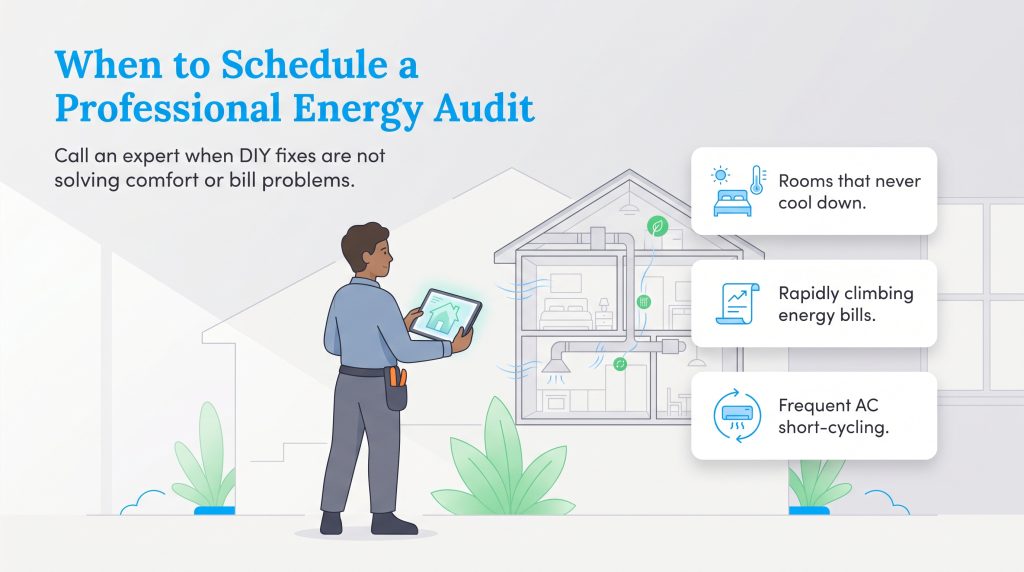
Deciding how much maintenance work to handle yourself is a critical step when setting up services in a new home. If your bedrooms remain stubbornly hot despite basic weatherstripping, we recommend scheduling a professional home energy audit. An energy audit is a comprehensive, scientific assessment of your property conducted by a certified technician. These experts utilize specialized diagnostic tools — such as blower doors to depressurize your house and measure total air leakage, alongside infrared camera testing to spot missing insulation hidden behind your drywall. This data allows them to pinpoint exactly where you are losing energy and recommend targeted solutions.
Implement A Strict HVAC Maintenance Schedule
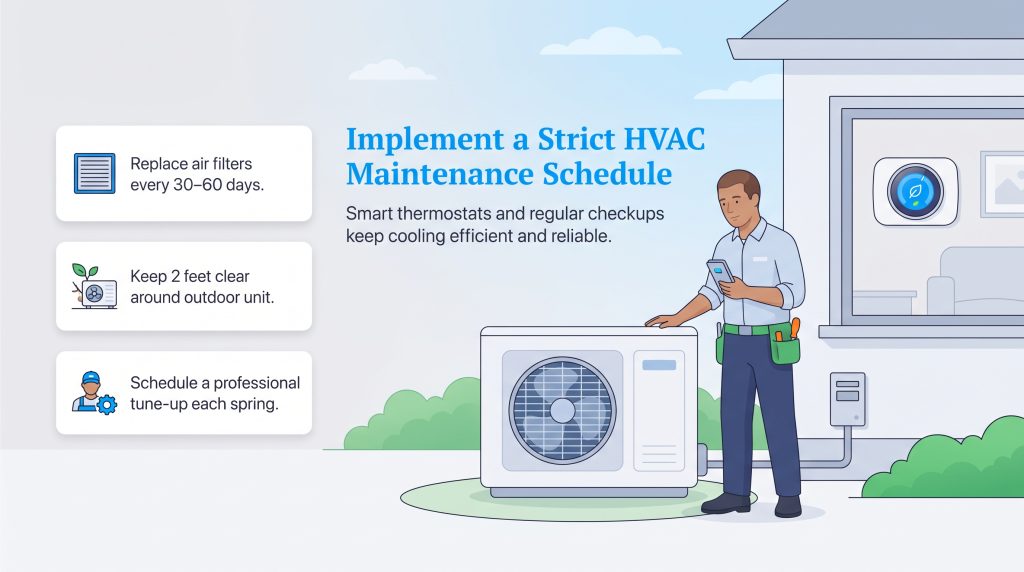
Sealing air leaks creates the barrier, but your air conditioner still requires clean airflow and consistent summer cooling maintenance to operate efficiently. To avoid a mid-August system failure, implement a strict HVAC maintenance schedule using this simple checklist:
- Replace your air filters: Swap out your HVAC filters every 30 to 60 days using a MERV 8 to 11 rating to capture dust without restricting crucial airflow.
- Clear outdoor debris: Remove overgrown vegetation, leaves, and twigs at least two feet away from your outdoor condenser unit to ensure proper air intake.
- Schedule a seasonal tune-up: Hire a licensed technician in the early spring to check your refrigerant levels, clean the evaporator coils, and inspect electrical connections.
Furthermore, upgrading to a smart thermostat bridges the gap between traditional manual adjustments and effortless automation. Browsing for ENERGY STAR certified models ensures you are installing equipment proven to reduce energy consumption while you are away from home.
Upgrade Insulation And Plant Shade Trees
The exterior of your property takes a brutal beating from the sun. To truly summer-proof your house, you must block solar radiation before it penetrates your living space and trap the cool air you are paying to produce.
- Upgrade attic insulation: During sunny afternoons, heat from the roof moves directly down through the ceiling. Adding modern blown-in fiberglass or cellulose insulation slows this intense heat transfer, completely preventing your upstairs rooms from feeling like an oven.
- Plant deciduous shade trees: Strategically planting leafy, deciduous shade trees on the east and west sides of your house blocks the harsh morning and late afternoon sun. Because these trees lose their leaves in the winter, they provide brilliant cooling shade during the summer while still letting warming sunlight through during the colder months.
🌱 Eco Edge: Proper attic insulation can drastically reduce your home’s energy use and, depending on your local power mix, lower the carbon emissions tied to cooling your home.
Summer Weatherization Cost Vs. Impact Breakdown
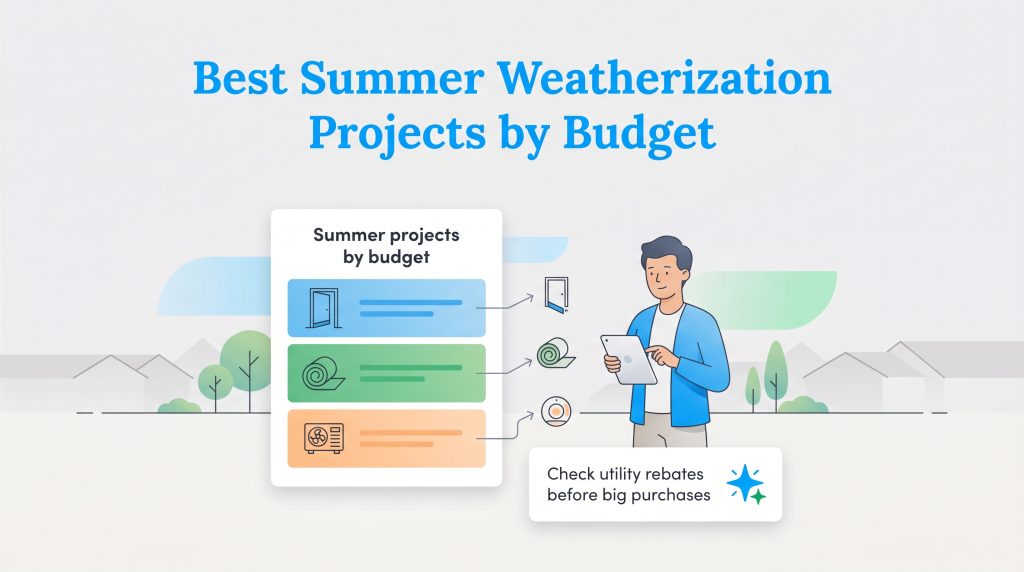
Available budget and skill level typically dictate which weatherization tasks make the most sense for your household. We built this quick reference table to help you compare the estimated costs and overall energy savings impact of popular upgrades.
| Weatherization Task | Estimated Cost | Energy Savings Impact |
|---|---|---|
| Applying Caulk and Weatherstripping | Low ($10 to $40) | Medium |
| Installing Blackout Curtains or Cellular Shades | Low to Medium ($30 to $150) | Medium |
| Upgrading to a Smart Thermostat | Medium ($100 to $250) | High |
| Planting Exterior Shade Trees | Medium ($50 to $200 per tree) | Medium to High |
| Adding Attic Insulation and Air Sealing | High ($1,500 to $3,000+) | High |
💸 Money-Saver: Before you buy insulation, new windows, or smart thermostats, check your local electric utility’s marketplace. Many providers offer instant discounts or mail-in rebates for energy-saving equipment that dramatically lower your upfront costs.
Preparing Your Home For Peak Summer Heat
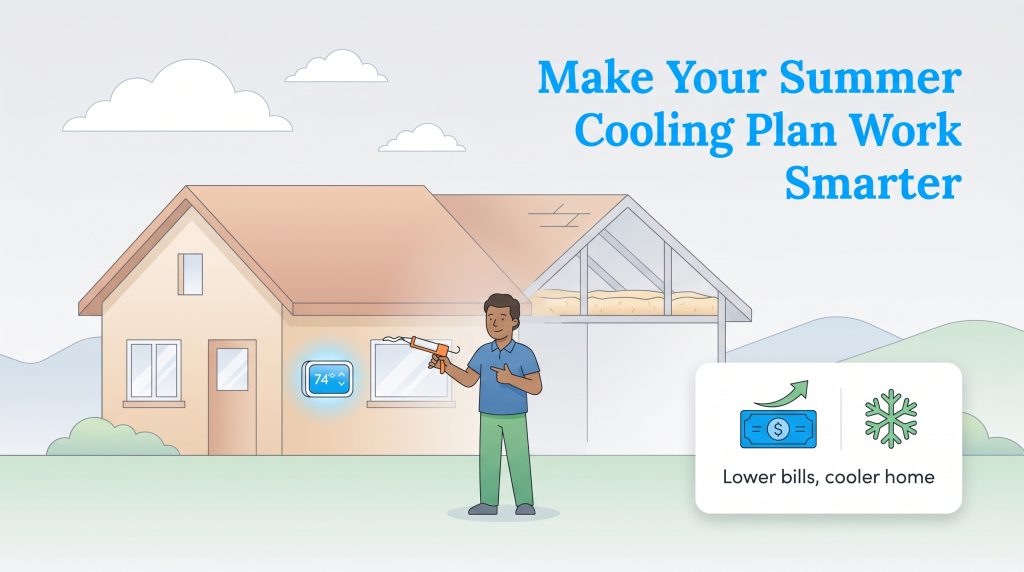
Getting a head start on your property’s efficiency before the mid-summer heatwaves strike gives you a serious financial advantage. Start small by dedicating a Saturday morning to sealing a few drafty windows, applying heat-reducing window film, or swapping out your old thermostat for an automated model. Once you notice the steady drop in your monthly utility costs, you can confidently scale up to larger energy-efficient home improvements like beefing up your attic insulation. Taking these proactive steps ensures your living space remains refreshing all season long and puts more money back into your wallet where it belongs.
Frequently Asked Questions About Summer Weatherization
If you are still wondering how to properly prepare your property for the hotter months, you are not alone. Here are the answers to some of the most common questions regarding seasonal home weatherization.
How do I weatherize my windows for summer?
How can I keep my house cool in the summer without AC?
Does weatherstripping help keep heat out in the summer?
What is the most cost-effective way to weatherize a home for summer?
Should I close my vents in unused rooms to save on cooling costs?
Is window film better than blackout curtains?
How can I naturally block the sun from my windows during the summer?
Can renters weatherize their home for summer?
Will a smart thermostat really lower my summer utility bill?
About the Author

LaLeesha has a Masters degree in English and enjoys writing whenever she has the chance. She is passionate about gardening, reducing her carbon footprint, and protecting the environment. She also recently served as President of the Board for City Sprouts (a community garden).

Jared Evans is a licensed electrician and the owner of Full Circuit Electric in Omaha, Nebraska. As an expert reviewer for UtilitiesForMyHome.com, Jared uses his 10+ years of hands-on experience to ensure our electrical advice is safe, accurate, and easy to follow. Whether he's troubleshooting a complex wiring issue or sharing tips on green energy upgrades, Jared is dedicated to helping you power your home efficiently — and safely.