Planning Ahead and Understanding Your Lease Are the Keys to a Seamless Internet Setup in Your New Apartment on Move-In Day
Key Takeaways
- Check your lease early to see if your building has exclusive provider agreements or bulk internet packages included in your rent.
- Schedule your activation at least two weeks before your move-in date to avoid data gaps during the transition.
- Optimize router placement by keeping it central and elevated to overcome signal interference common in apartment complexes.
Welcome to our definitive apartment internet setup guide, designed to help you secure a fast, reliable connection without the usual move-in day stress. Whether you are installing wifi in a new apartment that features high-tech fiber optics or trying to figure out how to set up internet in an apartment located in an older building, getting your network online requires a proactive plan. We created this comprehensive resource on internet for renters so you can bypass confusing jargon, evaluate your landlord’s rules, pick the optimal hardware, and successfully handle the activation process from start to finish.
1. Check ISP Availability Before You Move
Before you commit to a long-term contract or purchase expensive networking gear, you must verify which services actually reach your new home. Apartment internet providers can vary drastically, even between buildings on the exact same city block. Use the FCC Broadband Map to search for baseline coverage, but make sure you input your specific unit number. Some multi-dwelling units feature varied wiring infrastructure where one wing is wired for fiber (like Google Fiber) while another relies solely on traditional cable.
If you are moving internet to new apartment units within the same local region, you can often transfer your existing service simply by submitting a “move request” through your current provider’s online portal. However, if your current ISP does not cover your new address, you must cancel your current plan and schedule a brand-new activation. To avoid unnecessary technician delays, begin this research at least two weeks before your official move-in date.
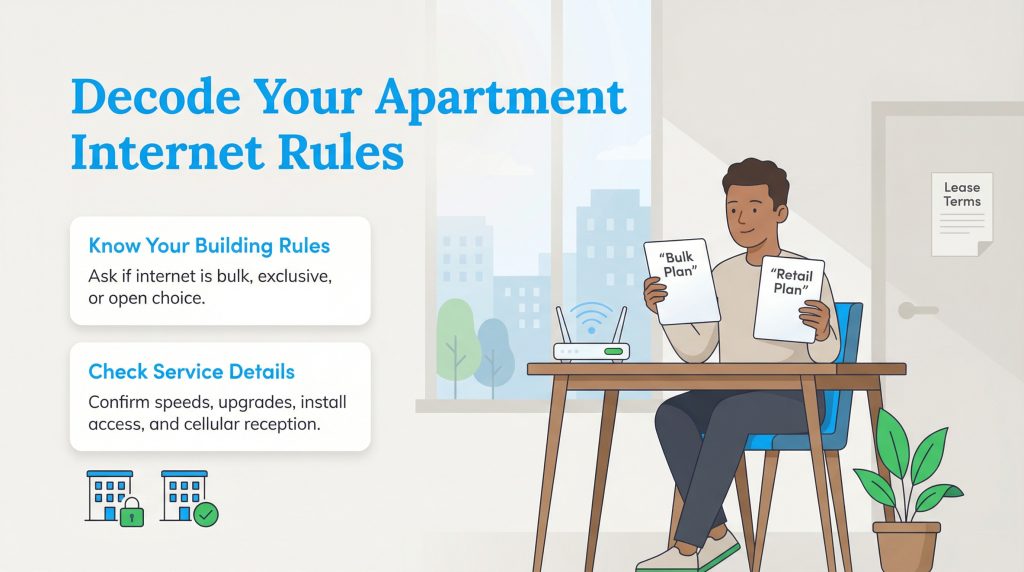
2. Navigate Landlord Wi-Fi Bundles and Tenant Rights
Many modern luxury complexes and large multi-unit buildings now offer an apartment wifi bundle, frequently referred to as “managed internet” or “bulk Wi-Fi.” In these scenarios, the physical infrastructure is pre-wired directly into the units, and the property manager bakes a mandatory technology fee right into your monthly rent. This plug-and-play setup is highly convenient, but it restricts your ability to switch providers if you experience poor customer service.
This reality leads many renters to ask: Can my landlord force an internet provider on me? According to current FCC guidelines, property owners are strictly prohibited from entering into exclusive revenue-sharing agreements that actively block competing retail ISPs from operating within the building. While a landlord cannot legally ban you from hiring a competing provider if the proper wiring exists, they are not obligated to let a new technician drill holes in the drywall to run new lines. Always read the technology addendum in your lease agreement carefully before assuming you can install a custom network.
3. Determine the Best Internet Speed for Your Apartment
Finding the best internet speed for apartment living means matching your monthly plan to your actual digital lifestyle. An overpowered gigabit connection drains your budget unnecessarily, while an underpowered one causes endless buffering during family movie night. Use this straightforward breakdown to determine your ideal bandwidth:
- 25 to 50 Mbps (The Solo Streamer): Perfect for one person who primarily uses the internet to check email, browse social media, and occasionally stream HD video on a single device.
- 100 to 200 Mbps (The Remote Worker): Ideal for individuals working from home. This tier easily supports daily video conferencing, large file downloads, and simultaneous cloud computing tasks without dropping the connection.
- 300 to 500 Mbps (The Gamer): The sweet spot for competitive online gaming, live Twitch broadcasting, and seamless 4K video streaming.
- 500 Mbps to 1 Gig (The Roommate House): Required for tech-heavy households where multiple users are actively streaming 4K media, downloading massive gaming files, and running smart home devices simultaneously.
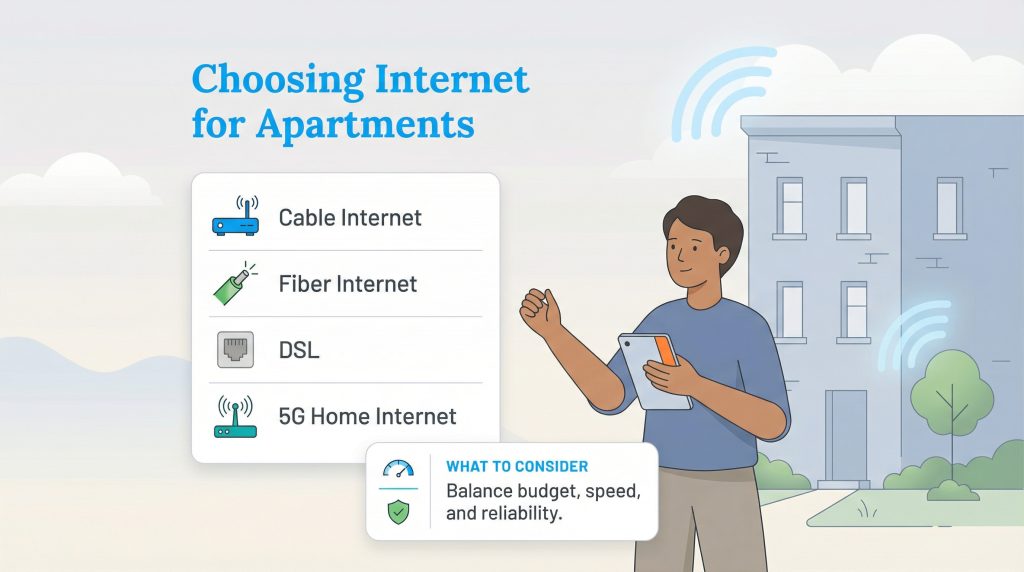
4. Choose Your Equipment
Understanding the hardware required for your apartment starts with knowing the difference between a modem, a router, and a gateway. A modem translates the physical signal from your provider into a readable digital connection. When looking at fiber vs cable internet, you will use a standard cable modem for the former and an Optical Network Terminal (ONT) for the latter. The Wi-Fi router connects to that modem to broadcast the signal wirelessly to your devices. A gateway is simply a two-in-one unit that houses both the modem and the router in a single shell.
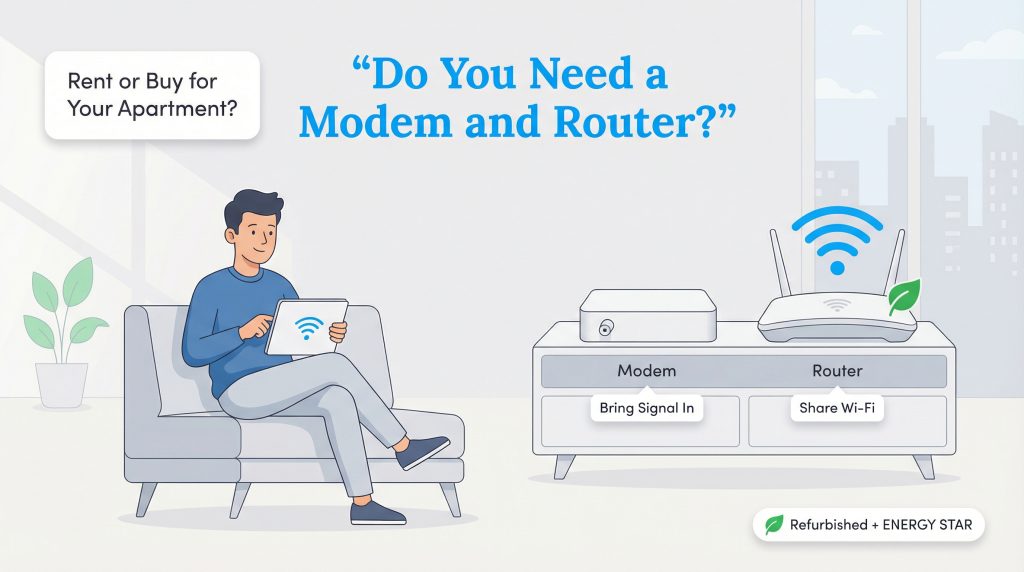
Should you rent or buy this equipment? Here is a quick comparison to help you decide:
| Strategy | Average Cost | Pros | Cons |
|---|---|---|---|
| Renting from ISP | $10 to $20 per month | Free tech support and automatic hardware replacements if the device fails. | You pay endless monthly fees that add up significantly over the life of your lease. |
| Buying Your Own | $100 to $250 upfront | Eliminates recurring monthly fees and gives you total administrative control over network settings. | You are entirely responsible for troubleshooting and replacing broken equipment. |
Purchasing your own equipment is often an eco-conscious alternative. Buying a certified refurbished router that is ENERGY STAR certified reduces harmful electronic waste and actively contributes to lowering your electric bill.
Do You Need an Ethernet Switch?
If your apartment features a pre-wired structured media enclosure (often located in a master bedroom closet) with ethernet cables routed to various rooms, an ethernet switch is essential. A switch takes a single hardwired connection from your router and seamlessly splits it into multiple active lines. Simply plug the switch into power inside the panel, link it to your router, and patch the room cables into the remaining ports to activate the wall jacks across your living space.
5. Compare Self-Installation vs Professional Setup
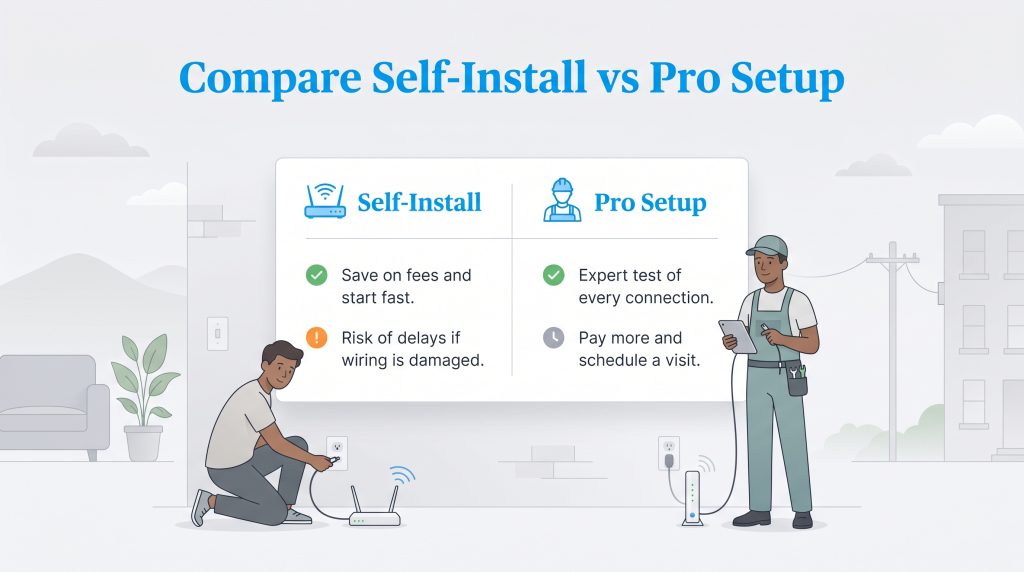
When it comes time to execute your apartment network setup, you have two choices: tackle the project yourself or hire a professional. If the previous tenant used the exact same ISP, the wiring is likely still active, making a self-installation highly viable.
Self-Installation Pros and Cons:
- Pros: Zero installation fees, no waiting around for four-hour technician windows, and instant connectivity the moment you unpack your boxes.
- Cons: If the wall jacks are damaged or the external lines were disconnected at the street level, you will have to wait days for a repair technician anyway.
6. Follow the Wi-Fi Installation Checklist
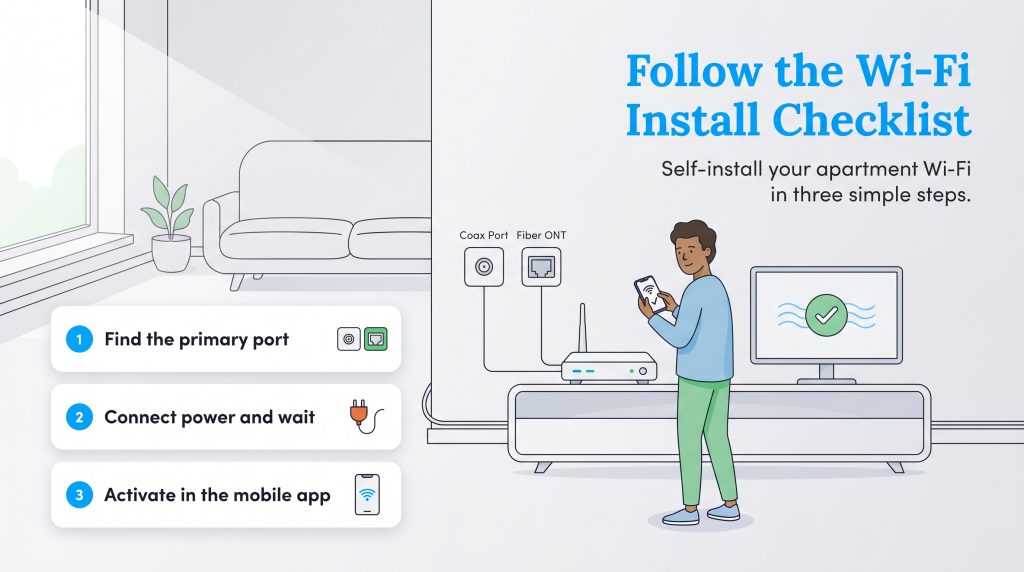
Opting for the self-install kit saves money and allows you to control your moving schedule. To get online quickly, follow this three-step self-installation checklist:
- Find the primary port: Locate the active coaxial wall outlet for Cable internet, or the mounted ONT for Fiber internet, and connect it to your modem.
- Connect the power: Plug your gateway or individual modem and router into a standard electrical socket. Wait five to 15 minutes for the indicator lights to turn solid, signaling a secure connection.
- Activate via the mobile app: Download your ISP’s official mobile app using your smartphone’s cellular data. Follow the on-screen prompts to register your equipment’s MAC address and personalize your Wi-Fi password.
7. Run a Diagnostic Speed Test
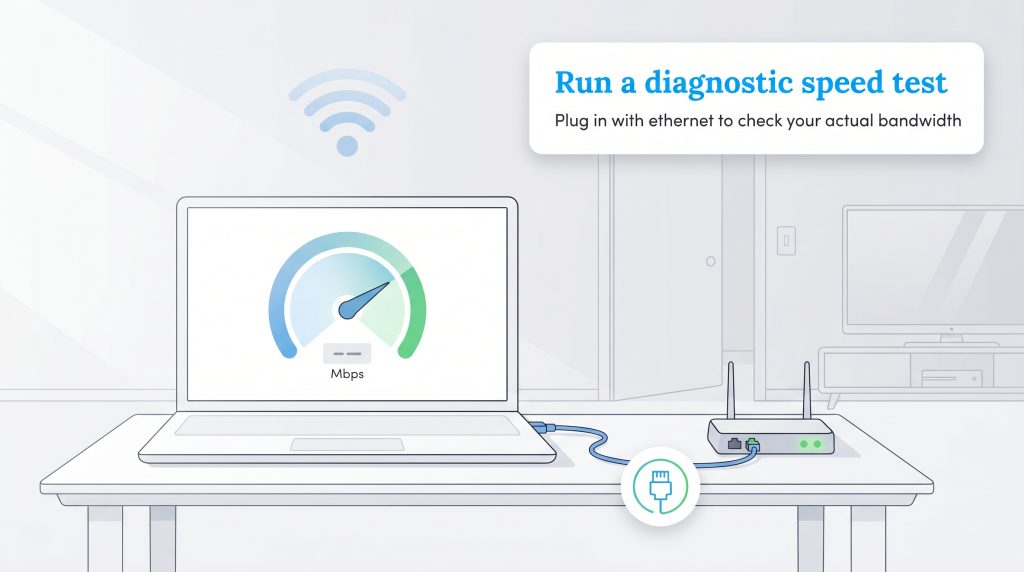
Before you start syncing your smart TVs, use an ethernet cable to plug a laptop directly into your router and run a quick diagnostic speed test. This simple check ensures you are actually receiving the premium bandwidth you are paying for without any wireless interference skewing the results.
8. Optimize Apartment Router Placement for Maximum Coverage
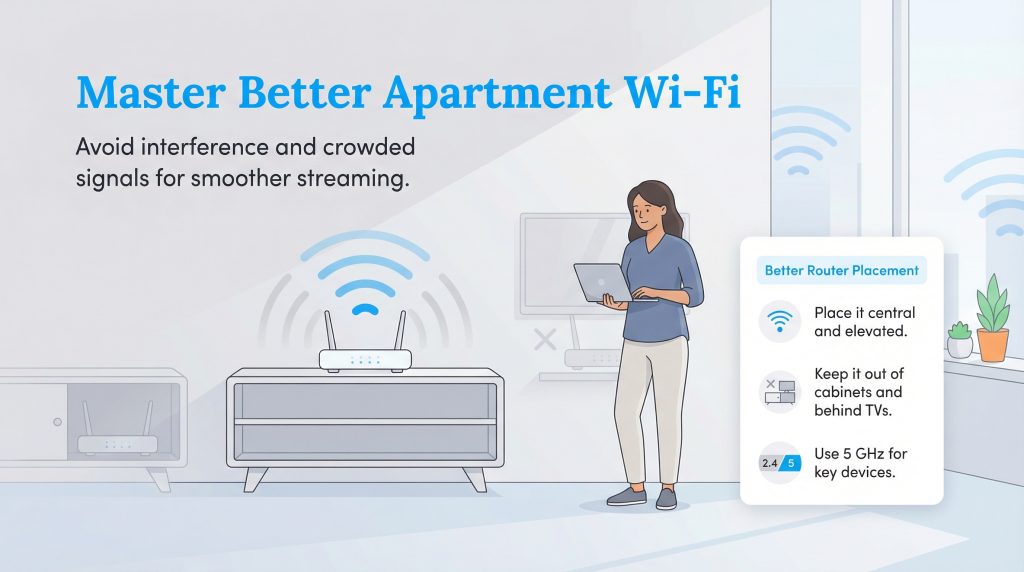
Nailing down the perfect apartment router placement prevents frustrating dead zones and intermittent drops. Wi-Fi signals project outward and slightly downward. A poorly positioned device will struggle to penetrate walls or heavy furniture. To maximize your coverage area, keep these structural rules in mind.
Do’s of Router Placement:
- Place the router in a central, elevated location, such as the top of a living room bookshelf.
- Maintain a clear, unobstructed line of sight from the networking equipment to your primary seating areas.
- Use powerline adapters for distant bedrooms. If you lack pre-wired ethernet, these energy-saving adapters transmit your network signal cleanly through the apartment’s existing electrical wiring.
Don’ts of Router Placement:
- Avoid placing the unit next to a microwave, as high-frequency appliances cause intense electromagnetic interference.
- Do not hide the router inside thick wooden cabinets, cramped closets, or behind the metal frame of a television.
- Keep the device away from large fish tanks and thick mirrors, because water absorbs RF signals and reflective coatings scatter frequency waves erratically.
9. Troubleshoot Apartment Network Congestion
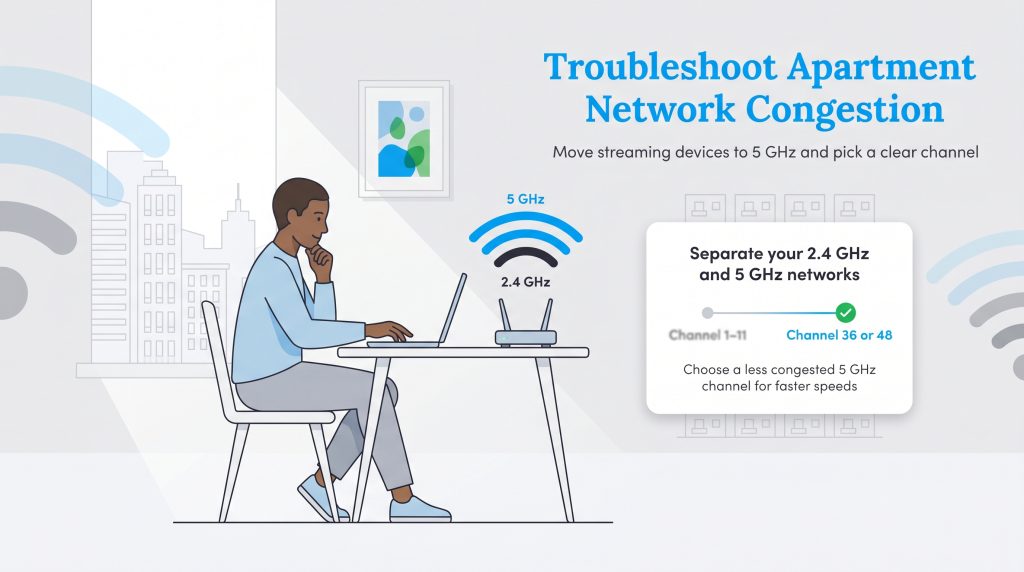
High-density housing inevitably leads to crowded wireless airspace. When dozens of your neighbors run their own independent routers, the overlapping signals bleed through the drywall and compete for the exact same channels. If your connection feels incredibly sluggish despite paying for top-tier internet services, network congestion is likely the culprit.
The easiest fix is to log into your router’s administrative dashboard and manually switch your bandwidth-heavy devices to the faster, less congested 5GHz band. Simply separate your 2.4GHz and 5GHz networks and choose a clear, uncrowded channel (like 36 or 48) to aggressively bypass neighbor interference.
Getting Ready for Move-In Day
Establishing a robust network does not have to be a stressful chore layered on top of an already chaotic moving process. As you finalize the logistical details outlined on our moving resources page, execute this final three-point checklist to guarantee immediate access. First, always pack your modem, router, and necessary cables in a clearly labeled “day one” box so you aren’t hunting for essential cords. Second, designate a single primary account holder on the lease to manage the ISP communications. Finally, set up an automatic payment plan with your roommates to easily split the monthly internet bill. With a little proactive planning and smart hardware management, your new apartment will function as a highly connected digital sanctuary the minute you walk through the door.
Frequently Asked Questions About Apartment Internet Setup
How do I set up internet in an apartment without a coax or ethernet wall port?
Can my landlord force me to use a specific internet provider?
How much internet speed do I really need for a one-bedroom apartment?
Do apartments usually come with Wi-Fi already set up?
How long does it take to set up internet in a new apartment?
Can I drill holes for fiber internet cables in an apartment?
About the Author

LaLeesha has a Masters degree in English and enjoys writing whenever she has the chance. She is passionate about gardening, reducing her carbon footprint, and protecting the environment. She also recently served as President of the Board for City Sprouts (a community garden).