Upgrade your kitchen tap for cleaner, better-tasting water without needing a toolbox or professional help.
Key Takeaways
- Most faucet filters install in under 10 minutes using only your hands.
- Check your faucet style first, as pull-down sprayers are generally not compatible with these filters.
- If the unit leaks after installation, tightening the adapter or adding a washer usually fixes the issue immediately.
Plumbing projects can often feel intimidating, conjuring up images of pipe wrenches, confusing instructions, and expensive calls to professionals, but installing a faucet-mount water filter is a refreshing exception. Whether you are a renter looking to improve your tap water without permanent changes or a new homeowner wanting to cut down on plastic waste, this project is surprisingly simple and requires zero specialized skills. Regardless of whether you purchased a Brita, PUR, or another major brand, the mechanics of getting it onto your tap are largely the same. If you have ever wondered how to put a water filter on your sink tap, this guide walks you through every step so you can have fresh, filtered water flowing right from your kitchen sink in just a few minutes.
Before You Start: Is Your Faucet Compatible?
Before you even open the box, we need to talk about the biggest frustration with these filters: faucet compatibility. Standard faucet filters are designed to attach directly to the tip of a traditional aerator on a fixed spout. If you have a standard kitchen faucet with a removable aerator at the tip, you are good to go.
However, many modern kitchens feature pull-down sprayers, square spouts, or sensor-style faucets. Unfortunately, these designs are generally incompatible with standard faucet-mount filters. If you have a pull-down sprayer, you might need to look into an under-sink filtration system or a countertop model instead, as there is no aerator thread to attach to.
What You Need (It’s Likely You Have It All)
One of the best parts about this upgrade is that it is truly a “zero-tools” project for 99% of people. You won’t need to raid the garage or buy a wrench set to get this done. The manufacturer usually provides everything necessary to get the unit secured to your sink.
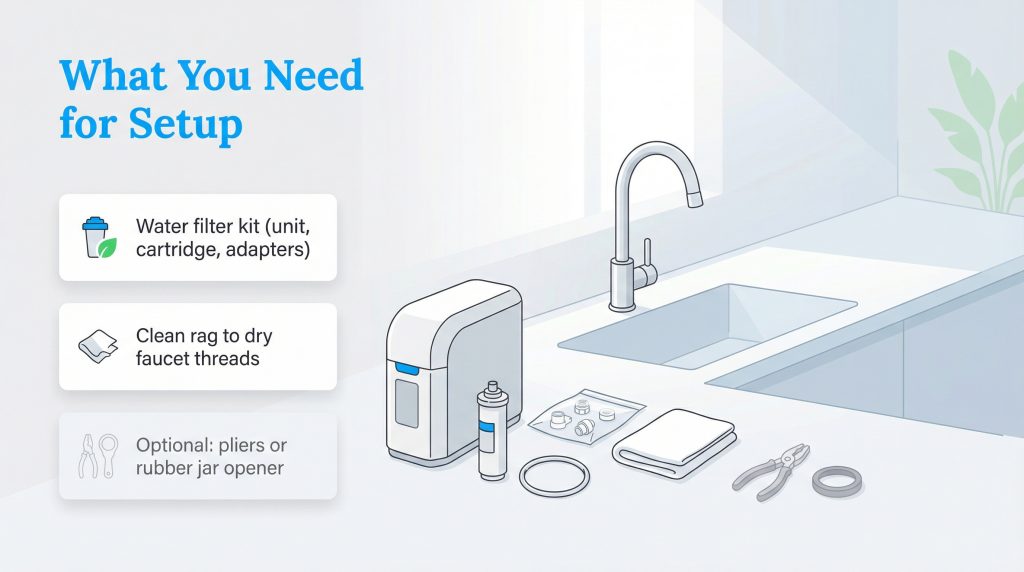
Here is the short list of what you will need:
- The Water Filter Kit: This box should contain the filter unit itself, one filter cartridge, and a small bag of plastic adapters.
- A Clean Rag: You will need this to dry off the faucet threads and potentially get a better grip on the old aerator.
- Optional: A pair of pliers or a rubber jar opener. You will only need these if your current faucet aerator is stuck tight and won’t twist off by hand.
Step 1: Remove the Old Aerator
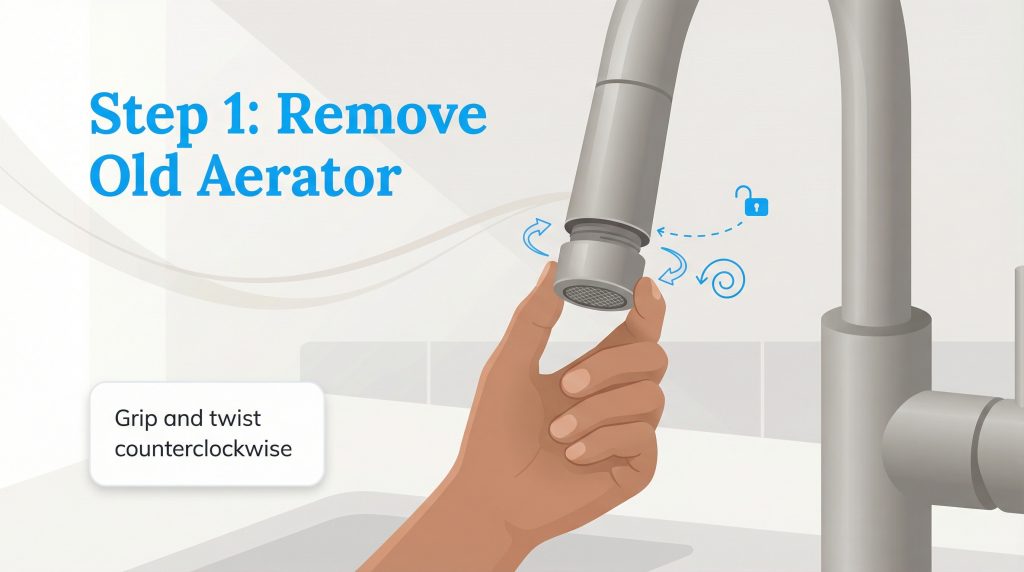
Your first physical step is to remove the existing aerator from your faucet. The aerator is the small mesh tip at the very end of the spout that mixes air with the water to prevent splashing. If you look closely, you will see a seam where this tip screws into the main faucet neck.
To remove it, grip the aerator firmly with your fingers and twist. Remember your orientation: if you are looking down at the faucet, it might feel counter-intuitive. It is often easier to look from the bottom up and think “lefty-loosey” to unscrew it. Once it is off, set it aside in a safe place, you will need to put it back if you ever move out or remove the filter.
Step 2: Identify Your Thread Type
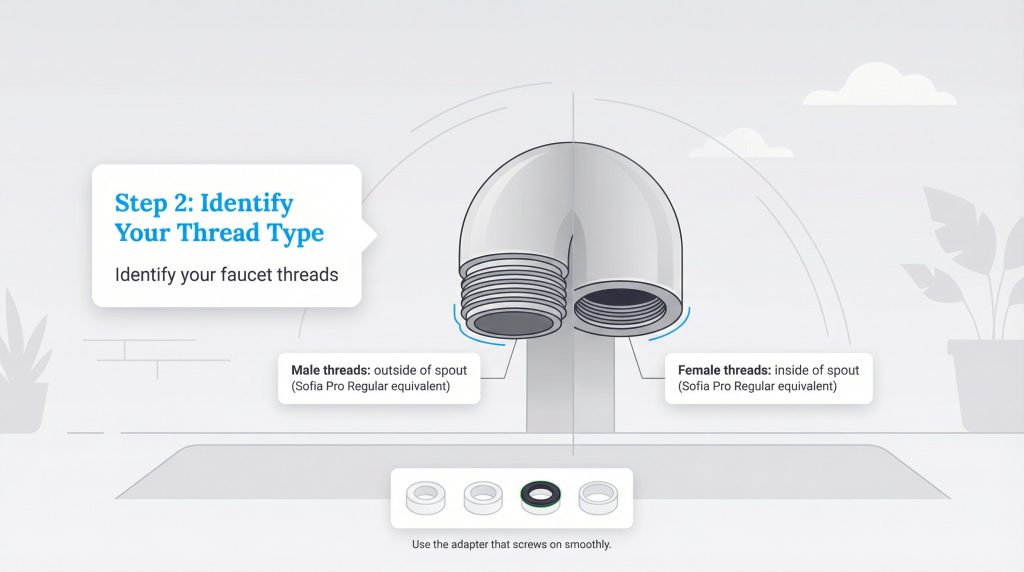
Once the aerator is off, you need to determine how your new filter will attach. Most kitchen faucet thread sizes for filters are standard, but the adapter types in your kit are designed to bridge the most common combinations of male and female threads. Identifying yours is the key to a leak-free fit.
First, look at your faucet spout. If it has threads on the outside (like a screw), it has “male” threads. You may not need an adapter at all, or you might need a thin, specific one from your kit. If your faucet is smooth on the outside and the threads are on the inside, it has “female” threads. In this case, you must insert an adapter that has a washer to bridge the connection. If you aren’t sure, simply test the adapters from the kit gently by hand until you find one that screws in smoothly and fits snugly.
Step 3: Attach the Adapter and Mount the Filter Base
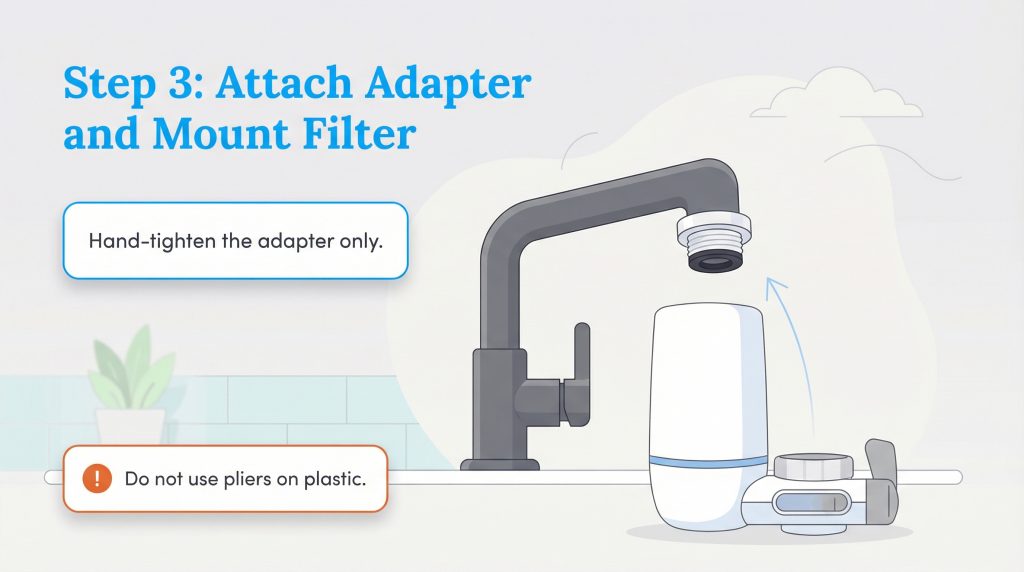
Now that you have the right adapter, it is time to secure the base unit. Take your chosen adapter (with its rubber washer) and screw it onto your faucet. Hand-tighten it until it feels firm, but be careful not to overdo it, as you don’t want to strip the plastic threads. If your PUR faucet filter adapter doesn’t seem to fit at first, double-check that you are using the adapter size listed for your faucet’s thread type in the manual, not just the one that looks closest.
Next, take the filter base unit—the part that will hold the cartridge, and align it with the adapter you just installed. Most models, like PUR or Brita, use a “click” system. Push the device up onto the adapter and listen for a distinct click, or twist the locking collar until it is secure. Warning: Do not use pliers or wrenches to tighten the plastic parts of the filter housing; they are liable to crack under the pressure of metal tools.
Step 4: Insert the Cartridge and Flush
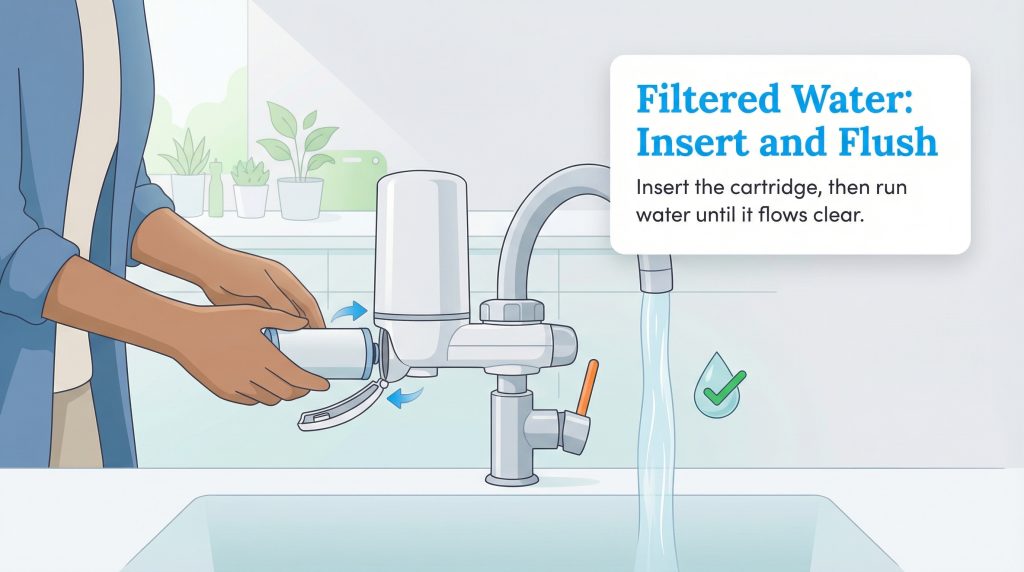
You are almost there. Locate the filter cartridge included in your kit and remove any plastic wrapping. Pop the top off the filter housing on your faucet mount and insert the cartridge according to the arrows or instructions on the package. It usually drops right in, and the lid will snap shut to hold it in place.
The final and most crucial step is the safety flush. Turn on your cold water tap and divert the water through the filter. Let the water run for at least 5 minutes (or whatever duration your specific manual suggests). You might see black specks or gray water initially; this is just loose carbon dust from the manufacturing process and is perfectly normal. Once the water runs clear, you are ready to drink. For more on why filtered water matters for your home, check out our guide to residential water services.
Troubleshooting Common Leaks
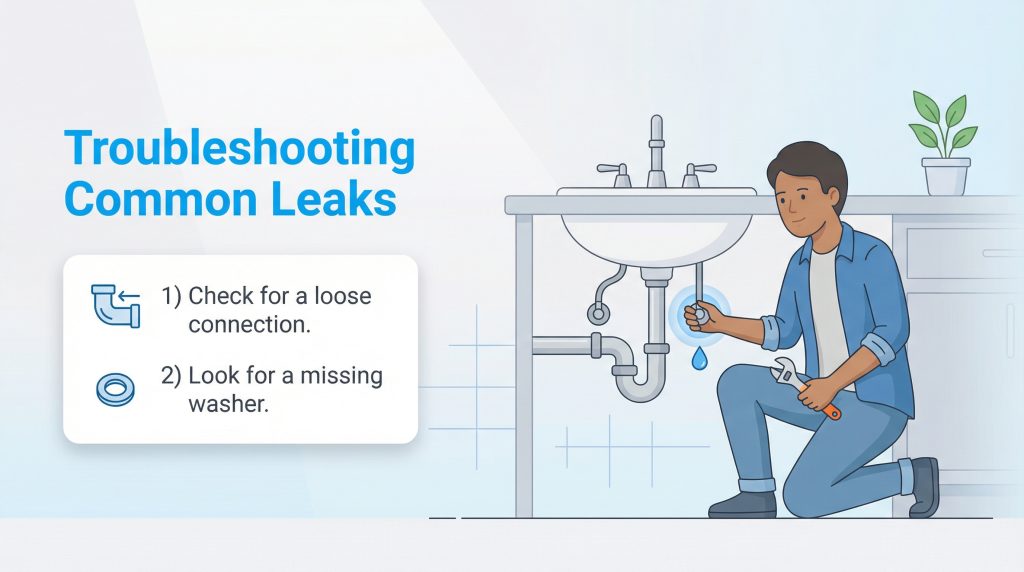
If you turn on the water and see spraying or dripping, don’t panic. Leaks are almost always caused by a loose connection or a missing washer. Here is a quick guide to fix the problem:
| Problem | Likely Cause | Quick Fix |
|---|---|---|
| Leak at the collar | Missing or misaligned washer | Unscrew the adapter, insert or reseat the rubber washer, then hand-tighten again. |
| Leak where filter meets adapter | Filter base not fully clicked in | Push up firmly on the filter base until it clicks or locks into place. |
| Water spraying sideways | Adapter is cross-threaded | Remove the adapter and screw it back on slowly, keeping it level with the faucet. |
| Filter leaking from top | Cartridge not seated or cap open | Open the housing, reseat the cartridge flat, and close the cap fully until it snaps. |
Why a Faucet Filter is an Eco-Friendly Choice
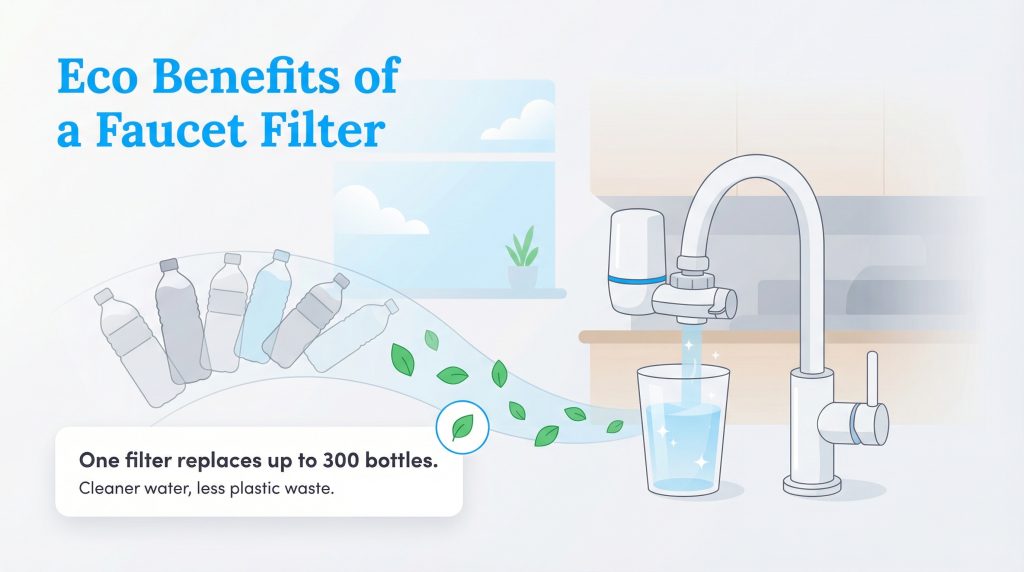
Installing a faucet filter is one of the easiest ways to make your kitchen more sustainable. By filtering tap water at home, you drastically reduce the need for single-use plastic water bottles. A standard filter cartridge can often replace up to 300 standard 16.9-ounce water bottles.
Choosing a faucet filter is an environmentally mindful choice that lets you keep using your existing tap instead of buying energy-intensive bottled water. This simple switch not only saves you money at the grocery store but also keeps a massive amount of plastic out of landfills and oceans. According to the EPA, plastics are a significant component of municipal solid waste, and reducing usage at the source is the most effective way to help. When you filter your own water, you are choosing a hydration method that is cleaner for both your body and the planet.
Enjoy Fresh Water on Demand
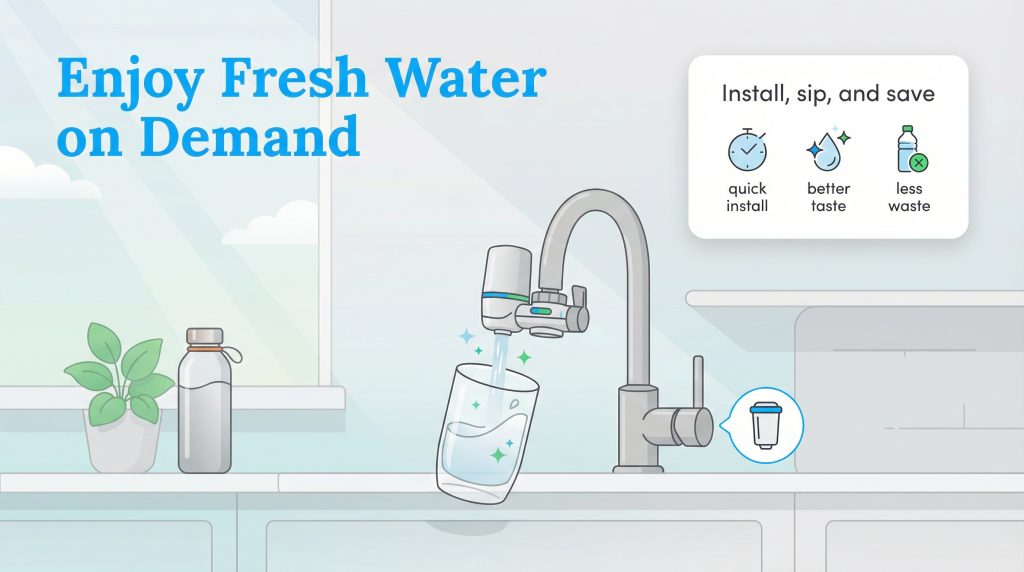
Installing a faucet water filter is a quick win for your home and the environment that pays off every time you fill a glass. You now have access to cleaner, better-tasting water without the hassle of pitchers or the waste of bottled water. Maintenance is just as simple as installation; just remember to swap out that cartridge every few months to keep your water fresh. Enjoy your new upgrade!
FAQs About Faucet Water Filters
Can I run hot water through my faucet filter?
How often do I need to change the filter?
Will a faucet filter fit a pull-down sprayer?
Why is my water flow so slow after installation?
Do faucet filters remove all contaminants?
About the Author

David has been an integral part of some of the biggest utility sites on the internet, including InMyArea.com, HighSpeedInternet.com, BroadbandNow.com, and U.S. News. He brings over 15 years of experience writing about, compiling and analyzing utility data.