

Sustainable Waste Management Starts in Your Own Backyard or Kitchen
Key Takeaways
- Reducing your household waste is highly achievable through composting, transforming everyday scraps into nutrient-rich soil while lowering your trash utility costs.
- Balancing green and brown materials guarantees a healthy, odorless compost pile that breaks down quickly without attracting neighborhood pests.
- You can easily compost in any living situation, utilizing everything from municipal green bins and smart countertop devices to traditional backyard tumblers.
Looking for effective composting tips to reduce your household waste and potentially lower your utility bills? You are in the right place. Much like learning how to recycle properly at home, learning how to start composting at home is a highly rewarding, environmentally mindful practice that transforms everyday food scraps into nutrient-rich soil. According to the EPA, food and yard waste currently make up more than 30% of what we throw away in the United States. Keeping that valuable organic matter out of local landfills actively minimizes harmful methane emissions and drastically reduces the heavy bags you drag to the curb every week. Whether your municipal waste provider charges by bin size or you simply want a free source of premium fertilizer for your garden, setting up a customized, odor-free system is the perfect addition to a sustainable home.
Why Composting Matters for Your Home
Before you confidently save your first apple core, it helps to understand why this simple household habit is so impactful. Implementing reliable composting for beginners strategies does far more than just help your backyard garden grow. Treating your organic waste as a standard, manageable household utility stream provides incredible environmental and financial returns. When you commit to a routine, you unlock several tangible benefits for your property.
- Reduces municipal landfill waste: Diverting dense kitchen scraps keeps heavy, wet materials out of the local trash system, which can directly lower your waste utility costs if you pay by volume or weight.
- Lowers greenhouse gas emissions: When organic food breaks down anaerobically (without oxygen) in a landfill, it produces harmful methane gas. Proper composting aerates the waste, significantly cutting down these dangerous emissions.
- Creates free, premium fertilizer: You can completely stop buying expensive, synthetic chemical fertilizers and use your own nutrient-dense soil amendment to feed your plants safely.
- Improves natural soil health: Finished compost greatly improves soil structure, helping your yard retain water naturally during droughts and actively reducing your overall outdoor irrigation needs.
The Core Recipe for Balancing Greens and Browns
The secret to a thriving, active pile lies entirely in mastering the greens and browns compost ratio. Composting is a delicate biological process that relies on feeding beneficial microbes a balanced, steady diet of nitrogen and carbon. If you add too much wet material, you will end up with a sludgy, foul-smelling mess that repels rather than rewards. Conversely, if you pile in too much dry bulk, the heap will remain bone-dry and refuse to break down over time.
| Greens (Nitrogen-Rich) | Browns (Carbon-Rich) |
|---|---|
| Vegetable and fruit scraps | Dried autumn leaves |
| Fresh grass clippings | Shredded cardboard boxes |
| Coffee grounds and filters | Non-glossy paper and egg cartons |
| Green plant trimmings | Dry straw, hay, and twigs |
| Used tea leaves | Sawdust (from untreated wood) |
For the absolute best results, aim for an ideal carbon to nitrogen ratio compost mix of 3:1, meaning three parts bulky browns for every one part wet greens.
What to Compost for the Best Results
Sorting your daily waste with intention is the first crucial step to success. Gather nitrogen-rich green materials from your kitchen prep, such as melon rinds, potato peels, fresh grass clippings, and your morning coffee grounds. To balance these heavy, wet items, consistently collect carbon-rich brown materials from around your property, such as dried autumn leaves—a staple of essential fall composting tips—small twigs, shredded utility bills, and unsoiled cardboard delivery boxes.
What Not to Compost in Your Bin
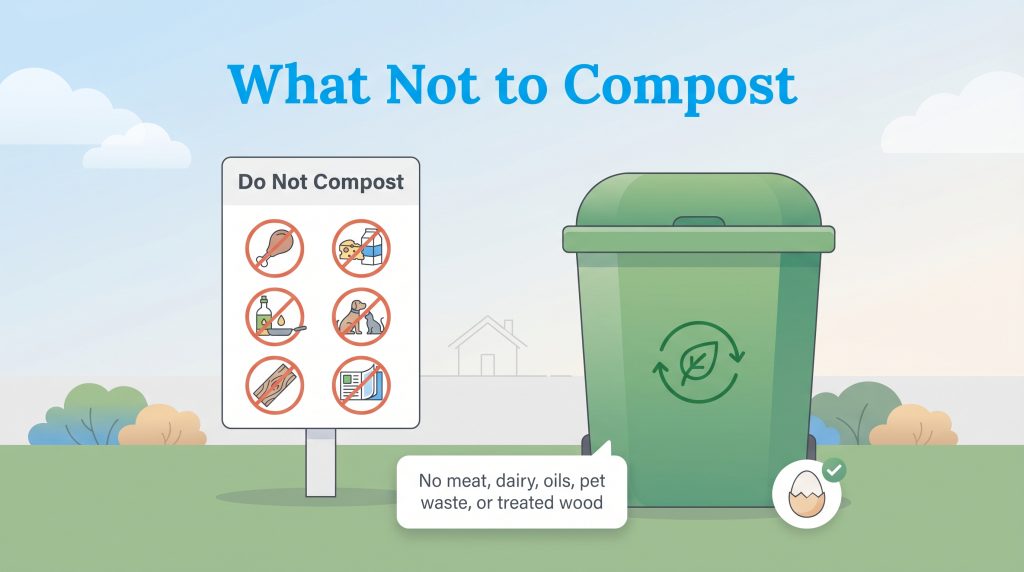
Knowing what not to put in compost is arguably even more critical for a beginner than knowing what to include. Adding the wrong materials will inevitably attract unwanted scavengers, create highly offensive odors, and potentially contaminate your future garden beds. To maintain a hygienic and odor-free pile, command yourself to keep the following red-flag items entirely out of your backyard bin:
- Meat, poultry, and fish bones: These dense proteins rot incredibly fast, emit terrible odors, and actively attract rats, raccoons, and neighborhood strays to your yard.
- Dairy products: Butter, cheese, milk, and yogurt quickly turn rancid under the sun and create a foul-smelling, unmanageable sludge.
- Fats, grease, and cooking oils: Excess oil coats organic materials, creating a frustrating water-resistant barrier that suffocates the beneficial microbes trying to digest your pile.
- Dog and cat pet waste: While manure from herbivores like cows is fantastic for soil, carnivorous pet waste contains dangerous pathogens and parasites. According to the US EPA, dog and cat waste should remain strictly out of piles intended for vegetable gardens.
- Glossy paper and treated wood: Pressure-treated lumber, painted wood, and glossy magazine pages contain synthetic chemicals and heavy metals that will severely poison your future soil.
- Diseased plants: Weeds that have gone to seed or plants infected with blight can survive the decomposition process and easily spread their issues to your healthy garden next season.
Essential Composting Tips for Faster Results
Once you fully understand your core ingredients, setting up your system requires just a little routine maintenance. Following these five actionable steps will help you naturally raise the internal temperature of your pile, aggressively suppress bad odors, and drastically speed up the decomposition timeline.
1. Choose the Right Bin for Your Space
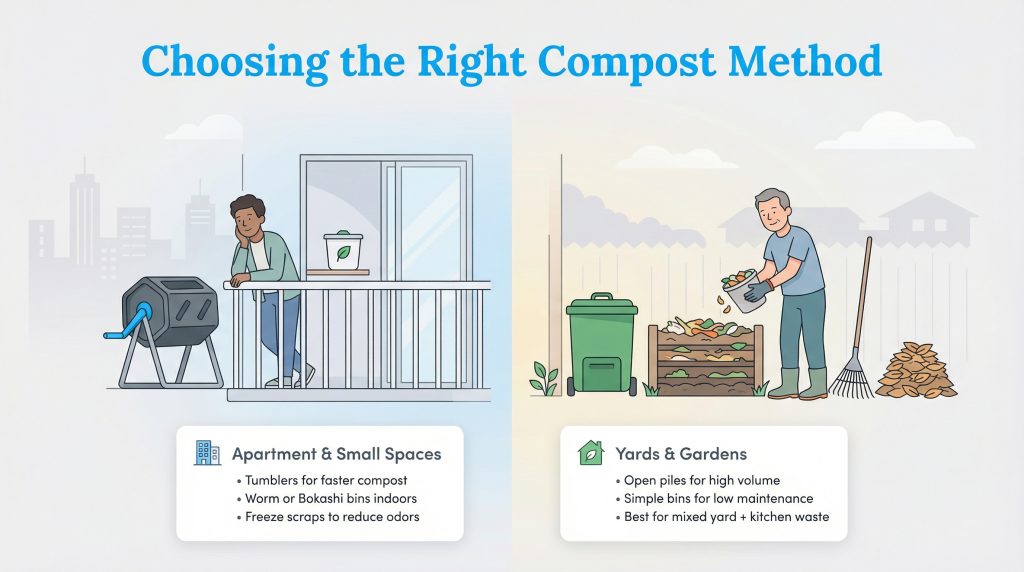
You need to match your composting method to your exact living situation. If you live in an apartment, an indoor setup is required. If you manage a suburban home with a small patio, a sealed tumbler is an excellent, pest-proof choice that keeps wildlife out. If you have acreage or a large yard, a standard stationary bin is ideal because it allows beneficial earthworms to migrate up directly from the native soil below.
2. Chop Scraps to Speed Up Decomposition
If you are wondering how to speed up compost naturally, the answer lies in increasing the surface area. Hardworking microbes break down small particles much faster than massive, solid chunks. Take a few extra seconds at the cutting board to chop up large melon rinds, dice old vegetables, and aggressively tear apart cardboard boxes before tossing them in.
3. Maintain the Wrung Out Sponge Moisture Level
Your compost should always feel exactly like a wrung-out sponge—damp to the touch but never dripping wet. Proper moisture ensures microbes can break down material efficiently. If you live in an arid climate, are managing water usage carefully, or are managing your pile during the scorching summer months, one of the most vital summer composting tips is to lightly sprinkle the materials with a garden hose occasionally.
4. Aerate the Pile Regularly
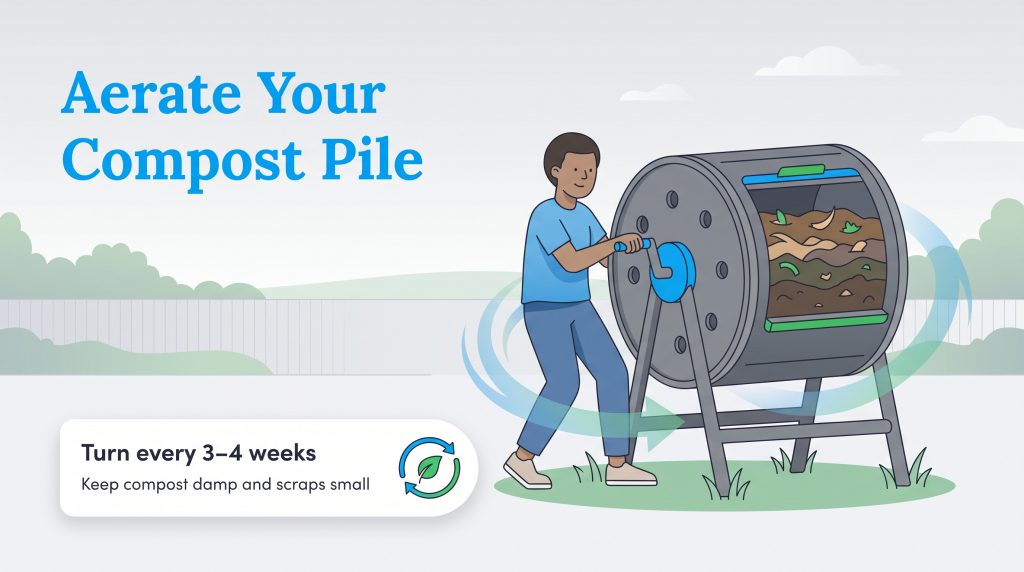
Composting is an aerobic process, meaning the microbes demand plenty of oxygen to thrive and suppress stagnant smells. Turn the compost every three to four weeks using a sturdy pitchfork, or simply give your elevated tumbler a hearty spin to introduce fresh air directly into the dense center of the heap.
5. Layer Materials Correctly
Always start your outdoor bin with a coarse base layer of twigs or wood chips to create essential airflow and drainage at the bottom. More importantly, whenever you add fresh kitchen greens, always finish your session by burying them deeply under a thick top layer of brown materials. This simple layering technique immediately suppresses appealing food odors and aggressively deters fruit flies.
Indoor Versus Outdoor Composting Methods
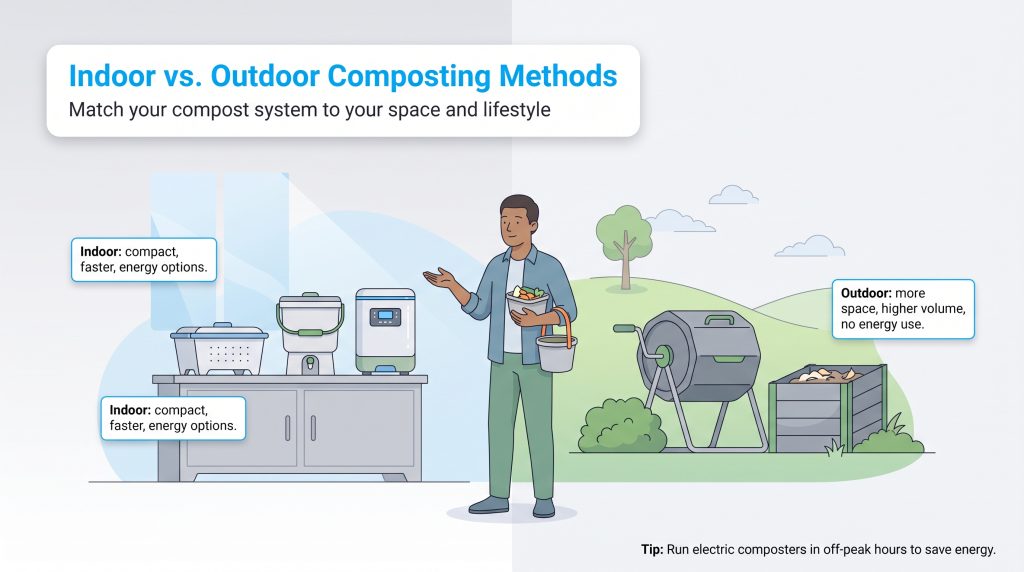
You do not need a sprawling backyard to successfully close the loop on your household waste. Choosing between indoor and outdoor setups comes down to your available square footage and personal lifestyle preferences. Outdoor methods, such as tumblers and open-air stationary bins, rely on natural weather conditions and wild microbes. While they require physical yard space and manual turning, they handle high volumes of seasonal yard waste and kitchen scraps completely for free.
Conversely, exploring modern indoor composting tips reveals incredibly compact, specialized systems designed specifically for renters. An airtight Bokashi bin uses inoculated bran to ferment waste anaerobically in a sealed bucket, allowing you to process small amounts of dairy or meat safely indoors without awful smells. Alternatively, vermicomposting utilizes a dedicated worm composter filled with red wigglers to silently digest scraps into rich castings right under your sink.
If you prefer the ultimate convenience, a sleek electric countertop compost bin grinds, heats, and dehydrates food waste in just a few hours. While it yields quick results, it will add a small energy draw to your monthly electric bill. Ultimately, composting in an apartment is highly achievable when you select the smart tool that matches your routine and space constraints.
Troubleshooting Common Compost Problems
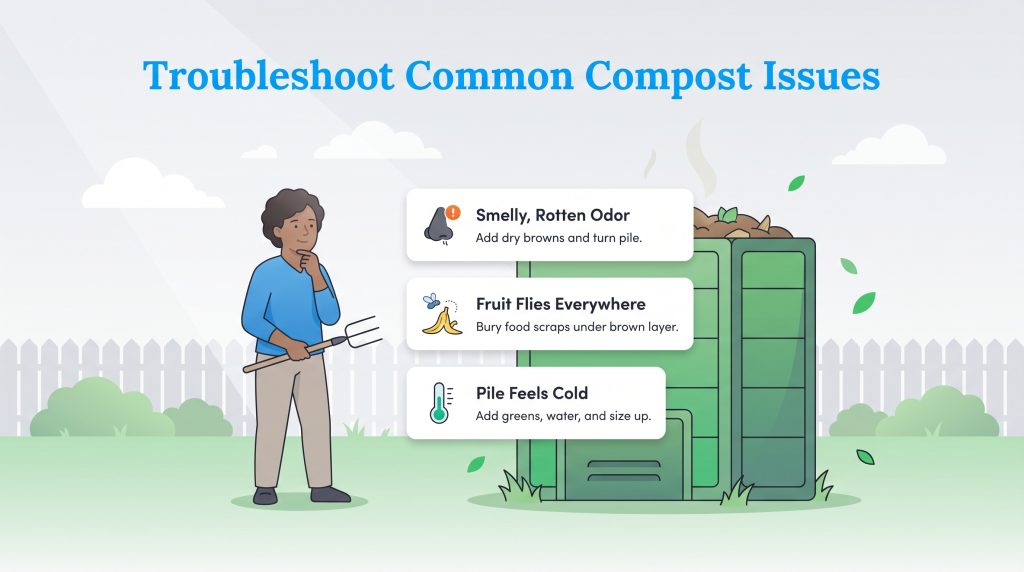
Even with meticulous preparation, nature can sometimes throw a frustrating curveball. The good news is that troubleshooting compost smells or minor pest issues usually requires only simple, rapid tweaks to your moisture or carbon levels. If your bin stops performing well or starts emitting an unpleasant odor, use this quick reference guide to confidently get things back on track.
| Problem | Likely Cause | Quick Solution |
|---|---|---|
| Ammonia Smell | Too much nitrogen (greens) overpowering the pile. | Add plenty of dry brown materials (shredded paper, dry leaves) and turn thoroughly to increase oxygen. |
| Rotten Egg Smell | Anaerobic conditions or the pile is far too wet. | Turn the pile immediately with a pitchfork and mix in highly absorbent, dry browns to soak up excess moisture. |
| Attracting Pests | Meat/dairy included or fresh food is exposed on top. | Strictly remove forbidden items and bury all fresh food scraps deeply under a thick, 2-inch layer of browns. |
Harvesting and Utilizing Your Finished Compost
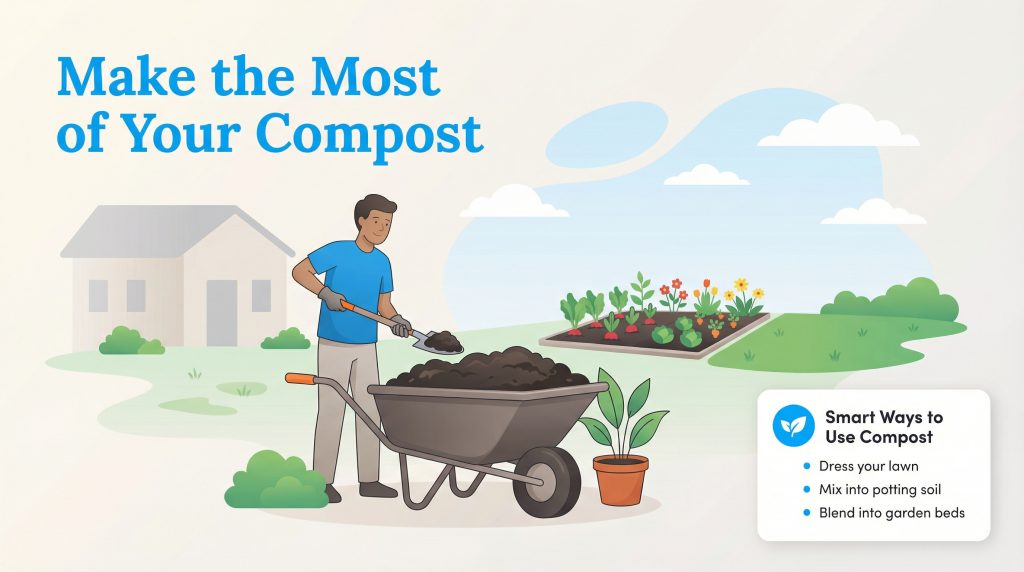
Transitioning from the active decomposition phase to actually utilizing the material is an exciting household milestone. You will know your organic matter is finally ready to harvest when it appears dark, incredibly crumbly, and smells exactly like fresh forest earth. There should be absolutely no recognizable food scraps remaining in the mix.
Once you verify that your compost is fully cured, you can utilize it in several highly beneficial ways around your property. Blend a two-inch layer of finished compost directly into your raised vegetable beds or outdoor flower gardens to drastically improve water drainage and natural nutrient content before spring planting. If you are starting fresh this season, reviewing spring tips for composting can also help you successfully restart your bin after winter. If you prefer lawn care, spread a thin, even layer over your established grass to act as a slow-release, environmentally mindful natural fertilizer. Alternatively, you can steep a burlap sack of finished compost in a large bucket of water for a few days to brew potent compost tea, providing an immediate organic boost when watering your indoor houseplants.
Start Closing the Loop on Household Waste
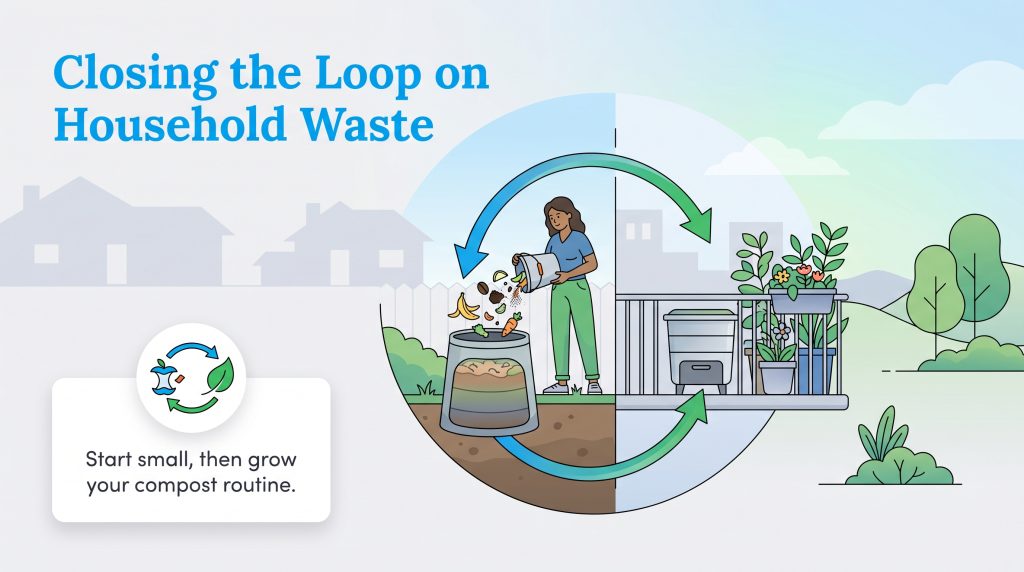
Implementing reliable organic waste management is a cornerstone of sustainable living that yields incredible long-term returns. By confidently following these step-by-step instructions, you are doing far more than just casual gardening—you are actively participating in a localized effort to curb dangerous household emissions and cut down your waste utility costs. Whether you manage acres of sprawling land or a tiny city balcony, there is a perfect setup that effortlessly fits your busy lifestyle. Start small, remain patient with the natural decomposition process, and deeply enjoy the profound eco-conscious benefits of closing the loop on your home’s valuable resources.
Frequently Asked Questions About Composting
How do I start composting for beginners?
Begin by choosing a system that fits your space, like an outdoor tumbler or an indoor countertop caddy. Next, start collecting your daily kitchen scraps and mix them with dry yard waste. Ensure you maintain a balanced ratio of green and brown materials, and keep the pile slightly damp to activate the microbial process.
What is the fastest way to break down compost?
The absolute fastest method is hot composting. Chop all your organic materials into tiny pieces, maintain a strict 3:1 brown-to-green ratio, keep the pile consistently damp, and turn it heavily every three days to maximize critical oxygen flow and heat retention.
Can I compost indoors without it smelling?
Yes, indoor composting is completely odorless when done correctly. Airtight Bokashi bins, carefully managed worm composters, and specialized electric countertop composters are all designed to neutralize foul smells right in your kitchen.
How do I know when my compost is ready to use?
Finished compost will look dark, rich, and highly crumbly, closely resembling standard potting soil. It should smell pleasantly like fresh forest earth, and you should not be able to identify any of the original food scraps.
Will composting attract rats or pests to my yard?
It can, but only if poorly managed. Prevent pests by strictly avoiding meat, dairy, and cooking oils in your mix. Utilizing a fully enclosed stationary bin or an elevated tumbler creates an impenetrable physical barrier against hungry wildlife.
What is the exact difference between green and brown compost?
Green compost refers to wet, nitrogen-rich materials like vegetable scraps that provide raw nutrients for hungry microbes. Brown compost includes dry, carbon-rich materials like dried leaves and cardboard that offer essential structural bulk and airflow to balance the pile.
What are the environmental benefits of composting?
Composting cleanly diverts heavy organic waste from municipal landfills, preventing the generation of harmful methane gas. It also creates a natural fertilizer that radically reduces reliance on harsh chemicals, as outlined by authoritative guides from resources like the NRDC.
About the Author

LaLeesha has a Masters degree in English and enjoys writing whenever she has the chance. She is passionate about gardening, reducing her carbon footprint, and protecting the environment. She also recently served as President of the Board for City Sprouts (a community garden).

David has been an integral part of some of the biggest utility sites on the internet, including InMyArea.com, HighSpeedInternet.com, BroadbandNow.com, and U.S. News. He brings over 15 years of experience writing about, compiling and analyzing utility data.