

Get your internet running quickly in your new home with this step-by-step walkthrough for connecting, configuring, and securing your Wi-Fi network.
Key Takeaways
- Place your router in a central location away from metal objects and thick walls to ensure the strongest signal throughout your home.
- Connect the router to your modem using an Ethernet cable plugged into the WAN port before attempting to configure the software settings.
- Use the manufacturer’s app or web interface to name your network, create a strong password, and update your firmware for maximum security.
You probably have cardboard boxes stacked to the ceiling and haven’t found your coffee mugs yet, but figuring out how to setup a wireless router is usually the first priority in a new home. We know that staring at a tangle of cords and blinking lights can feel overwhelming when you are already exhausted from moving. The good news is that setting up a Wi-Fi network is actually much simpler than it appears. This comprehensive wireless router setup guide cuts through the confusion to help you gather your hardware, select the perfect location, configure a secure connection, and finally start streaming your favorite unpacking playlist.
Essential Equipment Checklist
Before you start untangling cords and looking for wall outlets, take a moment to gather the necessary hardware. Having everything within reach will make the installation process seamless. Whether you purchased your own gear or are renting equipment from your Internet Service Provider (ISP), you will need the following core items:
- Modem (or gateway): The device that brings the internet connection into your home from the street.
- Wireless Router: The device that broadcasts the Wi-Fi signal to your phones and laptops.
- Ethernet cable: The networking cord (often yellow or blue) used to connect the modem to the router.
- Power adapters: The power cords required to plug both devices into the wall.
- Smartphone or Computer: A device to access the setup app or browser dashboard.
💡 Pro Tip: Before you plug anything in, take a clear photo of the sticker on the bottom or back of your router. This label contains the default network name (SSID), login IP, and admin password, which you will definitely need in a few minutes.
Step 1: Find the Best Router Placement
Choosing the best router placement for home coverage is just as important as the internet speed you pay for. Wireless signals are essentially radio waves that struggle to move through solid objects, dense materials, and water. Finding the optimal physical location will prevent frustrating dead zones in your bedrooms or home office. If dead zones persist in a larger house, following a Wi-Fi extender setup guide can help you push the signal even further.
| Do | Don’t |
|---|---|
| Place the router in a central location. | Hide it inside a media cabinet or TV stand. |
| Elevate the device on a high shelf or desk. | Place it on the floor or in a basement. |
| Keep it in an open area for proper airflow. | Position it near metal objects or thick brick walls. |
| Position the antennas (if applicable) vertically. | Place it next to microwaves, fish tanks, or baby monitors. |
Step 2: Connect the Router to Your Modem
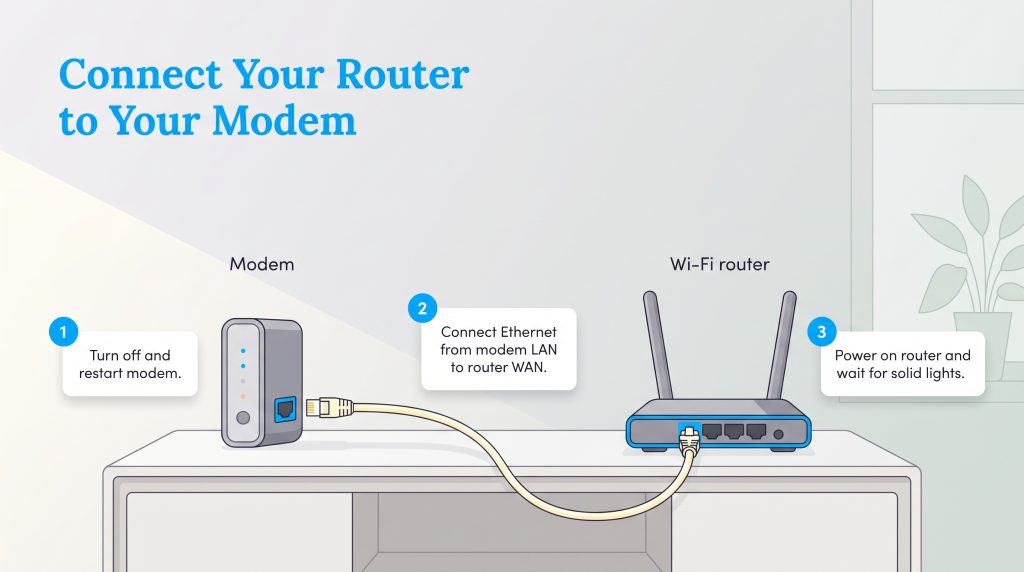
Once you have found the perfect spot, it is time to connect the hardware. This crucial physical connection creates the bridge between the internet entering your home and the wireless network you want to broadcast.
Warning: Turn off your modem before making any physical connections. If your modem is currently plugged into the wall, unplug the power cord for at least 15 seconds. This clears its short-term memory and prepares it to recognize your new router.
When you are ready to learn how to connect a router to a modem, grab your Ethernet cable. Plug one end of the Ethernet cable into the LAN port on your modem. Then, plug the other end of the Ethernet cable strictly into the “WAN” or “Internet” port on your router. Do not plug this cable into the standard “LAN” ports on the router, or you will not receive an internet signal. The WAN port is usually separated from the rest and color-coded yellow or blue.
Step 3: Power Up Your Devices
With the Ethernet cable securely snapped into the correct ports, you can bring your network to life. Always boot up your modem first. Plug your modem back into the power outlet and wait about two full minutes for the lights to stabilize. This indicates it has successfully reconnected to your service provider at the street level.
Next, plug your router’s power cord into the wall. Watch the LED lights on the front of the device; they may blink in various colors for a few minutes while the system boots up. Wait until the power and internet indicators turn a solid color (usually white, green, or blue) before moving on to the digital setup.
Step 4: Access the Router Settings (App vs. Web Browser)
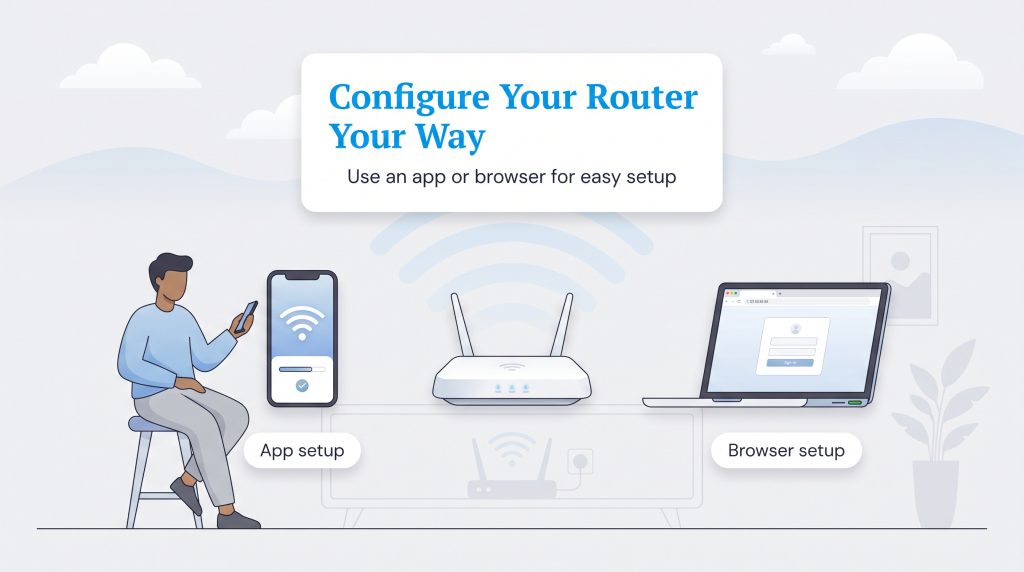
Now you need to tell the router how to behave and establish your preferences. You have two distinct options for how to configure a wireless router: the modern app method or the traditional web browser method.
The Smartphone App Method: Most current routers from top brands are designed to be set up effortlessly through a mobile app. If you purchased a modern device, simply download the manufacturer’s app (such as the Netgear Nighthawk app, TP-Link Tether, or Eero app) from your phone’s app store. The app will use Bluetooth or a temporary Wi-Fi signal to detect the router and provide automated, step-by-step setup instructions right on your screen.
The Web Browser Method: If you have an older model or simply prefer more manual control, you can use a laptop. Connect your computer to the router’s default Wi-Fi network using the credentials from the sticker you photographed earlier. Open your preferred web browser and type the router IP address login into the address bar (common addresses are 192.168.1.1 or 192.168.0.1). When the login screen appears, type in the default router admin password found on your device sticker to access the main dashboard.
Step 5: Configure Your SSID and WPA3 Security
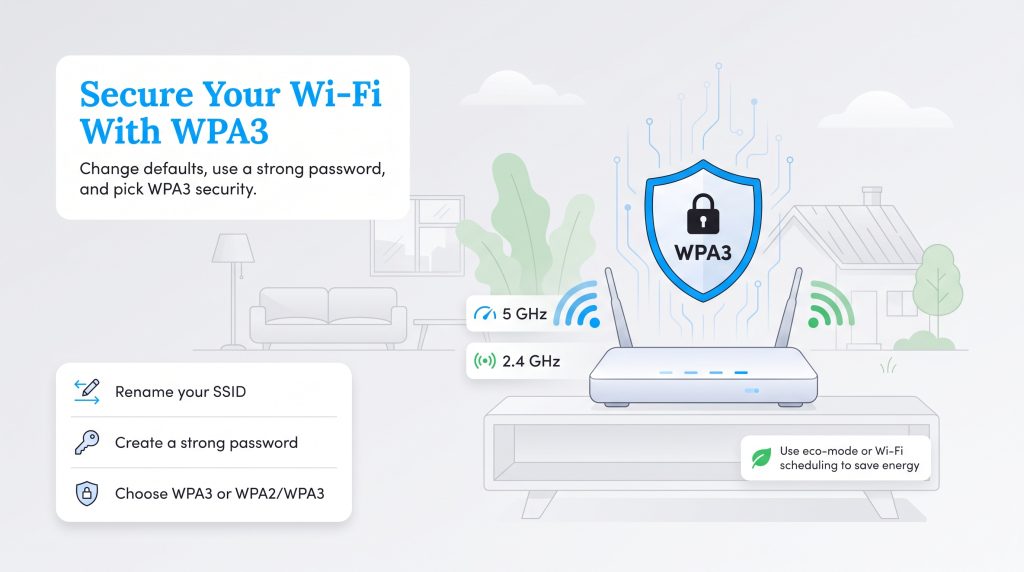
Security should be your absolute top priority once you are logged into the settings. Setting up a Wi-Fi network properly means abandoning the factory defaults. Start by changing your Wi-Fi network name (SSID) to something personal but not identifiable — avoid using your home address or full name. Next, create a strong network password using a complex mix of letters, numbers, and symbols.
When selecting your encryption standard, you will likely see options for WPA2 vs WPA3 security. WPA2 is an older, widely used security standard, whereas WPA3 is the newest protocol that offers stronger encryption and superior protection against password guessing. You must select WPA3 (or WPA2/WPA3 Mixed mode if you have older smart devices) to ensure your data remains completely locked down.
Finally, if you have a dual-band router setup, you will see options to name two separate networks. We recommend naming the 2.4GHz band for range and smart home devices (e.g., HomeNet_2.4), and naming the 5GHz band for high-speed streaming and gaming (e.g., HomeNet_5). Some modern routers will automatically combine these under one name and intelligently shift your devices to the best frequency.
🌱 Eco Edge: Check your router settings for an “Eco-mode” or scheduling feature, which can dim LED lights or even turn off Wi-Fi radios during the night to reduce power consumption and light pollution in your bedroom.
Step 6: Update Your Router Firmware
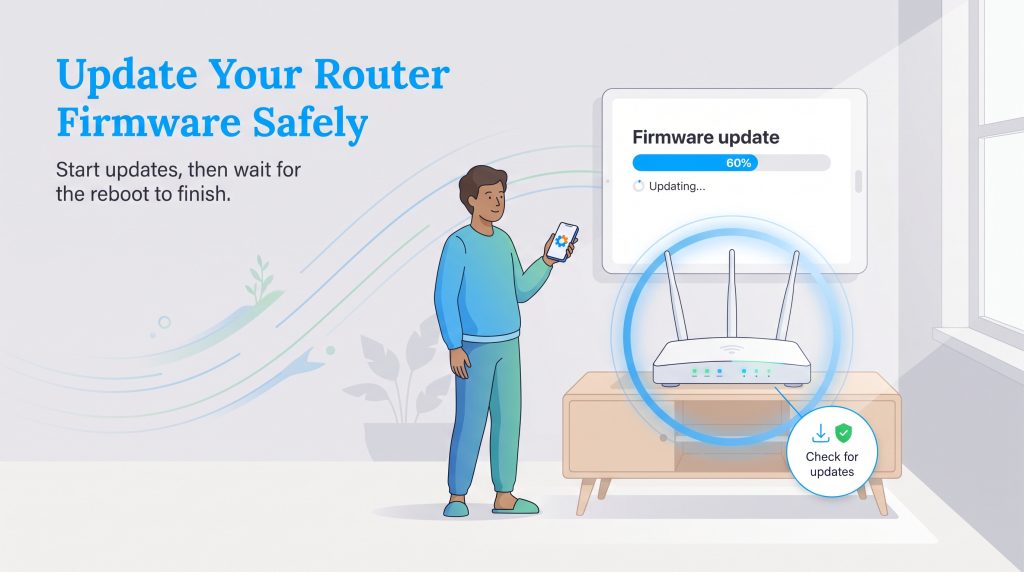
Before you start connecting all your phones and tablets, you need to ensure the router itself is running optimally. Firmware is the foundational software that runs your router hardware, and manufacturers frequently release updates to patch security vulnerabilities and fix performance bugs.
Navigate to the “Advanced” or “System Settings” tab inside your router app or web dashboard. Locate the firmware section and click “Check for Updates.” If an update is available, download and install it immediately. Updating router firmware can take a few minutes, and the device will restart during the process. Allow the router to reboot completely without unplugging it to avoid corrupting the system.
Step 7: Connect Your Wireless Devices
With your fresh SSID broadcasting and your security locked tightly in place, the technical heavy lifting is officially over. It is time to bring your devices online. Open the Wi-Fi settings on your smartphone, tablet, smart TV, or laptop, and search for the new network name you just created. Enter your new, highly secure password and hit connect.
If you set up a dual-band network, remember to connect bandwidth-heavy devices like your living room TV or gaming console to the faster 5GHz network, while leaving smart thermostats, video doorbells, and older laptops on the wider-reaching 2.4GHz network.
Optimizing Your New Home Network
Setting up your wireless router correctly is the foundation of a functional, modern home. A strong, secure signal keeps your smart thermostat online, prevents streaming from buffering, and lets you work from home without interruptions. For more on optimizing your digital home, check out our guide on setting up internet and Wi-Fi in your new home. To maintain a healthy network for the long haul, we recommend implementing a few quick optimizations:
- Set up a Guest Network: Create a separate Wi-Fi access point for visitors. This keeps them off your main network where your private files and smart home controls live.
- Change your admin login password: Navigate back to your router settings and change the default admin password (the one on the sticker) to prevent hackers from altering your core network settings.
- Test your internet speed: Verify you are getting the speed you actually pay for by running a free diagnostic tool like Speedtest.net from your laptop or phone.
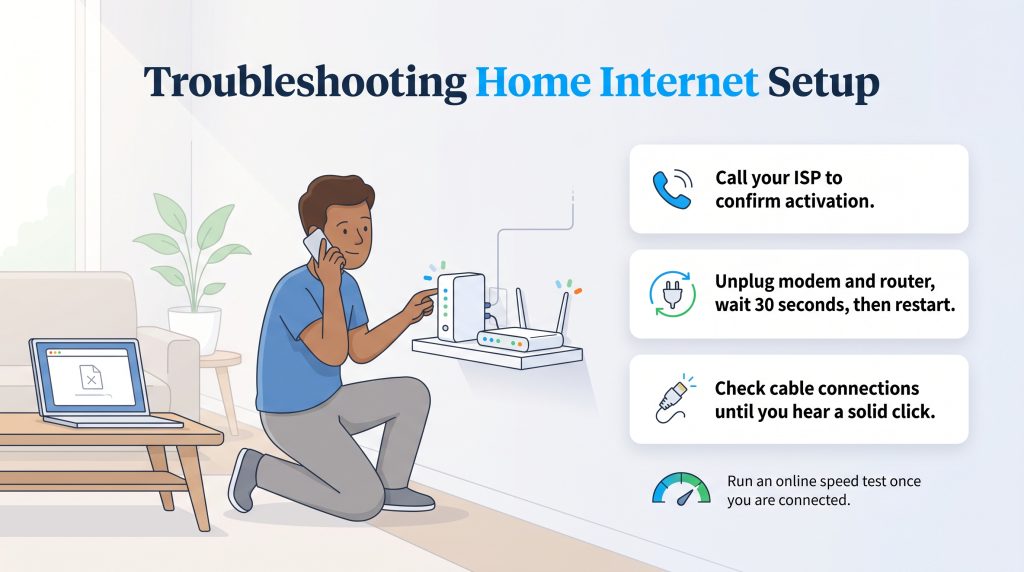
If you have followed all the steps but still can’t load a webpage, don’t panic. In a new home, the most common culprit isn’t your router, but the service line itself. If the lights on your modem never stabilized, your Internet Service Provider (ISP) may not have activated the service at the street level yet. A quick call to their support line can confirm if your home is actually online. If the service is active but pages are taking too long to load, knowing how to fix slow internet can help you troubleshoot the issue. Otherwise, try the classic tech support reboot by unplugging both devices for 30 seconds, and always double-check that your Ethernet cables click firmly into place. Now that your network is up and running, you can cross one major task off your moving list and focus on turning your new house into a home.
🚩 Heads Up: If your ISP just activated your service today, it can take a few minutes for the modem and router to fully sync. Give it a little time before you start aggressively factory-resetting hardware.
Frequently Asked Questions About Router Setup
What is the difference between a modem and a wireless router?
How do I setup a router without a computer?
Do I plug my router into the modem or the wall?
Why is my router IP address not loading?
How do I find my router’s IP address?
Do I need to buy my own router or use the one from my ISP?
What do the lights on my router mean?
How can I make my home office more energy efficient?
What internet speed do I actually need?
About the Author

LaLeesha has a Masters degree in English and enjoys writing whenever she has the chance. She is passionate about gardening, reducing her carbon footprint, and protecting the environment. She also recently served as President of the Board for City Sprouts (a community garden).

David has been an integral part of some of the biggest utility sites on the internet, including InMyArea.com, HighSpeedInternet.com, BroadbandNow.com, and U.S. News. He brings over 15 years of experience writing about, compiling and analyzing utility data.