

Prepare Your New Home’s Landscaping This Spring With Expert Water-Saving Strategies That Cut Costs Without Sacrificing Curb Appeal
Key Takeaways
- Audit your irrigation system early to fix winter damage and prevent unnecessary water waste before the heat arrives.
- Invest in a smart sprinkler controller to automatically adjust watering schedules based on local spring weather data and soil moisture.
- Apply mulch and choose drought-tolerant plants to retain soil moisture and significantly reduce your outdoor water usage all season long.
Moving into a new place brings plenty of excitement, but you might be surprised to learn that outdoor water use can account for up to 70% of a household’s total water consumption. Experiencing that first spring in a new home presents the perfect opportunity to establish cost-effective, sustainable habits outside. Instead of watching your utility expenses skyrocket when the frost thaws, you can implement these actionable spring yard water conservation tips to drastically lower your monthly bills. From integrating modern sprinkler technology to mastering precise soil hydration techniques, you can easily set your landscape up for long-term financial and environmental success before the scorching summer heat arrives.
Why Spring Is The Critical Time For Water Conservation
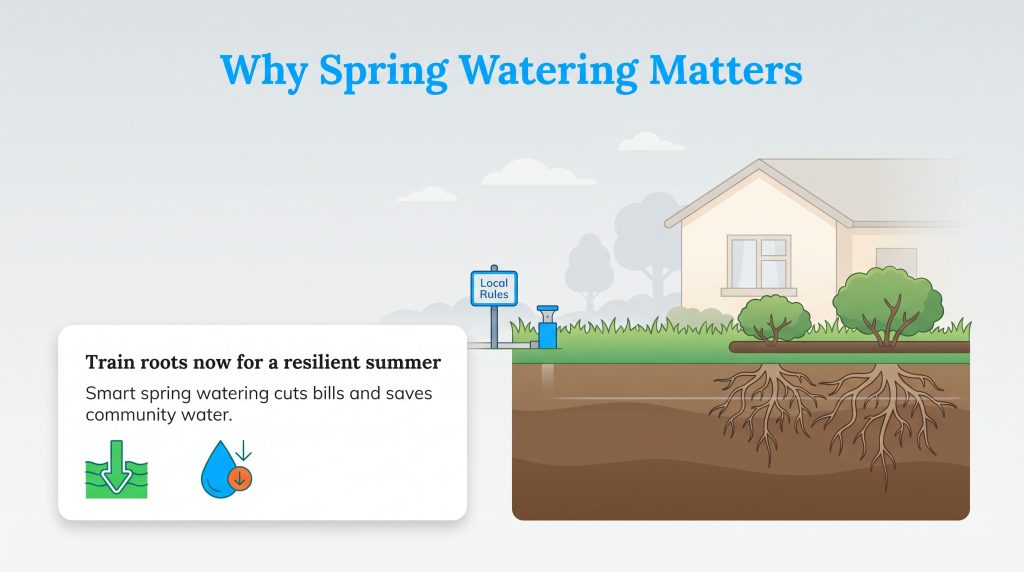
Before you blindly adjust the valves on your irrigation system, check your local water utility’s outdoor watering rules. Many municipalities strictly limit watering to certain days or specific hours to manage community reservoirs, especially during regional drought conditions. Once you understand the local guidelines, you can implement straightforward, proven strategies to drastically reduce charges on your water bill while nurturing a vibrant property. Spring offers a critical window to train your roots to grow deeper, establishing a highly resilient lawn that naturally demands less supplemental moisture throughout the remainder of the year.
Essential Spring Irrigation Maintenance Checklist
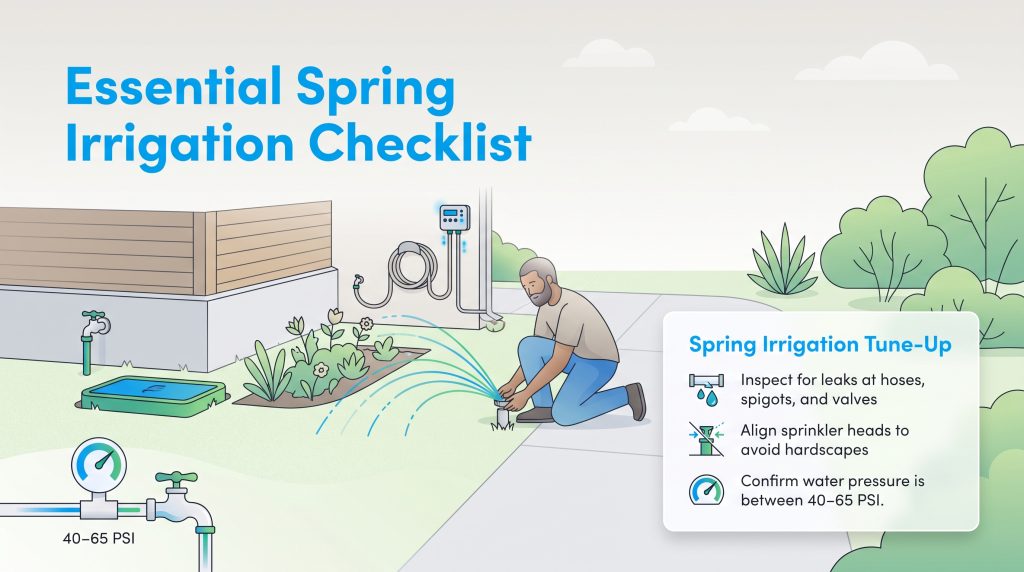
You cannot effectively optimize a system if you do not know its baseline performance or if broken hardware is secretly draining your budget. Kick off your spring irrigation maintenance by thoroughly inspecting your setup before turning on the main municipal valve. Executing a proactive audit secures massive water savings and prevents costly landscape flooding.
- Check all hose connections, outdoor spigots, and irrigation valves for hidden winter freeze leaks or worn rubber gaskets.
- Align your sprinkler heads carefully to avoid watering driveways, sidewalks, or the side of your house, which wastes water and creates hazardous runoff.
- Clean inline filters and remove debris from individual emitters to ensure even water distribution across your garden beds.
- Test your home’s water pressure using a simple outdoor gauge to verify it sits within the optimal 40 to 65 PSI range, preventing wasteful misting and wind drift.
Smart Upgrades: Technology To Reduce Outdoor Water Usage
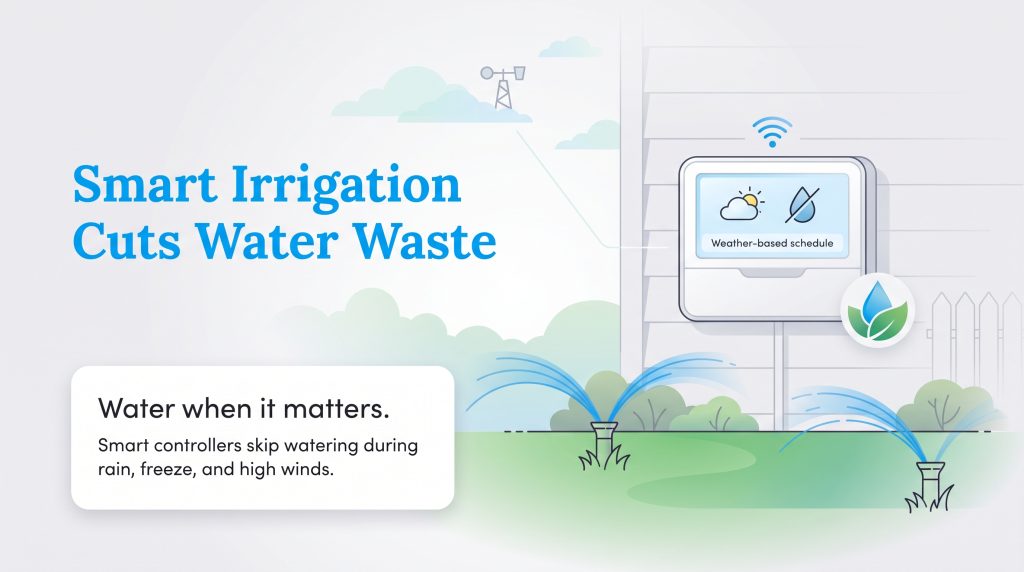
Upgrading your outdoor hardware is one of the easiest ways to modernize your property while simultaneously locking in long-term utility savings. We highly recommend installing EPA WaterSense certified outdoor products to guarantee rigorous efficiency testing and eliminate the guesswork from your seasonal landscaping routine. Smart sprinkler controllers connect directly to local weather station data via your home Wi-Fi network, automatically delaying scheduled watering cycles during rainstorms, freezing temperatures, or periods of high winds.
If your local municipality and HOA allow it, implementing a reliable water catchment system creates incredible resource flexibility. Execute proper rain barrel installation tips this spring to collect thousands of gallons of free water directly from your roof. The greatest rain barrel benefits include having a free, chlorine-free water source to nourish your vegetable gardens and newly planted shrubs without ever turning on the municipal hose. Pair this stored water with a targeted drip irrigation installation to deliver moisture directly to the root zones where plants need it most.
| Tool | Average Water Saved | Best Use Case |
|---|---|---|
| Smart Sprinkler Controllers | Up to 15,000 gallons annually | Automating large residential lawn irrigation based on real-time weather and soil conditions. |
| Drip Irrigation Installation | Reduces usage by 20% to 50% | Targeting deep root zones in vegetable gardens, custom flower beds, and shrubbery. |
| Rain Barrels | Up to 1,300 gallons during peak summer | Collecting free, untreated rainwater for container plants to seamlessly reduce outdoor water usage. |
Landscaping Upgrades For Maximum Water Savings
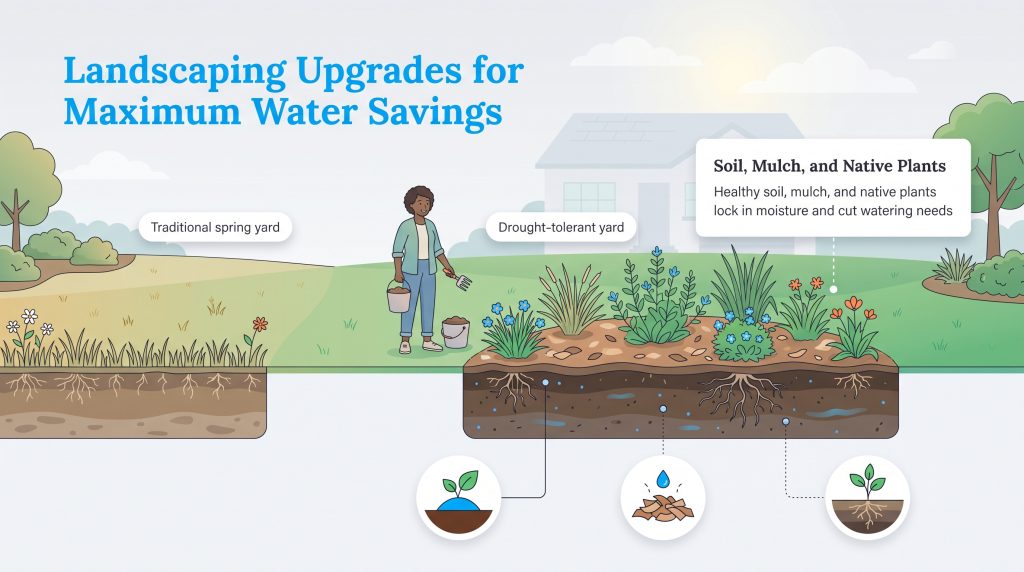
The secret to an energy-saving landscape rarely involves the grass itself; it begins entirely within the dirt. Healthy soil acts like a giant sponge, trapping moisture and nutrients right where the roots can access them. By proactively amending your garden beds and designing drought-tolerant landscaping, you can drastically cut back the frequency of your watering cycles.
- Mix rich, organic compost directly into your topsoil to introduce vital microorganisms that naturally aerate the dirt and boost its overall water-holding capacity.
- Apply 3 to 4 inches of organic mulch — like wood chips or shredded bark — around all plant bases. Mastering proper mulching for moisture retention significantly reduces surface evaporation and keeps sensitive root zones cool.
- Choose native plants for water saving. Because native species evolved to thrive in your specific regional climate, they require almost zero supplemental irrigation or synthetic fertilizers once fully established.
- Seek out Turfgrass Water Conservation Alliance (TWCA) certified seeds if you need to patch bare spots, as these specific grass varieties are bred to require up to 30% less water than traditional turf.
| Traditional Spring Landscaping | Drought-Tolerant Landscaping |
|---|---|
| Often needs more frequent watering during dry spring weeks. | Usually needs less supplemental water once established in the soil. |
| May require more mowing, fertilizing, and irrigation adjustments. | Often requires less routine upkeep and feeding after plants mature. |
| May rely on non-native plants that struggle during dry spells. | Uses plants better suited to local rainfall and soil conditions. |
Spring Lawn Care: Mowing, Feeding, And Watering Techniques
How you maintain your grass directly influences how much water it demands to survive. When assessing your landscaping for water conservation, look closely at how the turf responds to early-season heat. You should wait until late spring to begin supplemental watering, encouraging the root systems to dig deeper into the earth. Establish a strict lawn watering schedule spring approach by commanding your system to water deeply but infrequently.
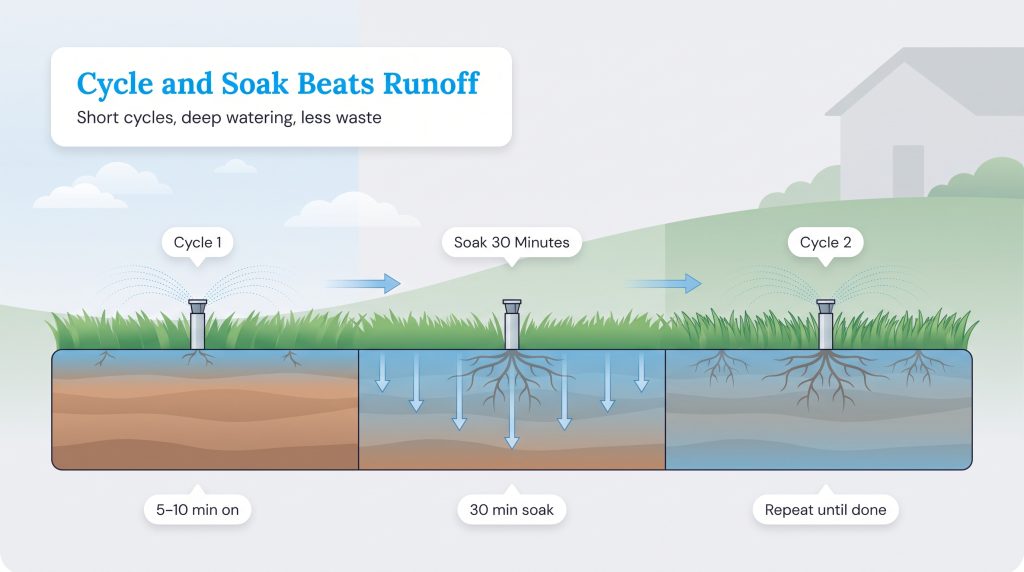
When you manage your home water usage with “cycle irrigation” across your entire property, you eliminate wasteful runoff entirely. Instead of running sprinklers for a continuous 30 minutes, program your smart controller to run zones in short 5-minute bursts. Pause the system for 30 minutes between these bursts to let the water soak deeply into compacted soil before applying the next round. Always schedule these cycles for the early morning to prevent rapid midday evaporation and destructive fungal diseases.
You can easily determine the exact output of your sprinklers by performing the DIY tuna can test. Place several empty cans evenly around a single sprinkler zone, run the system for exactly 15 minutes, measure the depth of the collected water with a ruler, and multiply that number by four to calculate your hourly inch output.
Finally, adjust your physical maintenance habits to foster a drought-resistant yard. Raise your lawnmower blade to at least 3 inches to encourage deep root growth and cast vital shade over the soil surface, cooling the dirt. Leave grass clippings on the lawn when you mow. These natural clippings act as instant mulch, breaking down quickly and returning vital nitrogen and moisture directly to the soil base.
Transitioning Your Yard For Peak Summer Heat
Building a beautifully lush property does not mean you have to drain the local reservoir or abandon your household budget. Complete all your spring landscaping water efficiency audits before June to establish a defensive baseline before the aggressive summer heat waves strike. We strongly encourage you to check for local municipal water rebates for smart controllers and rain sensors to further offset your upgrade costs while actively working to save on your monthly water bill. Implementing these summer water conservation practices and making broader sustainable choices today builds deep root systems and sets a reliable standard of efficiency that continues to pay dividends straight through the hottest months of the year.
Frequently Asked Questions About Spring Yard Water Conservation
Still sorting out your spring watering routine? These quick answers cover the most common questions homeowners have about outdoor water use, irrigation timing, and water-saving yard upgrades.
How much water does a lawn actually need in the spring?
What are the best native plants for a water-saving spring garden?
How can I test my home sprinkler system for hidden leaks?
What is the best time of day to water grass?
How do I reduce my outdoor water bill?
Does a smart sprinkler controller really save money?
Can I install drip irrigation myself?
Why shouldn’t I water my garden in the evening?
About the Author

LaLeesha has a Masters degree in English and enjoys writing whenever she has the chance. She is passionate about gardening, reducing her carbon footprint, and protecting the environment. She also recently served as President of the Board for City Sprouts (a community garden).

Claudio is a sustainability-focused writer with a background in Anthropology and Psychology from NC State University. He has spent over 15 years working in writing, interpretation, and translation, driven by a deep interest in how human culture shapes the environment. Today, he shares his curiosity with readers by writing about sustainable living solutions and the connection between everyday choices and environmental impact.